


@vodot Thanks!
John Brown's Painted Axis and Allies Pieces
-
Just wanted to let you all know, I will post any pieces I paint on boardgamegeek, including the ones, I will posting tonight.
Thanks for viewing! :-D
John
-
PHASE ONE of FIVE CAMO SCHEMES of the GERMAN LUFTWAFFE
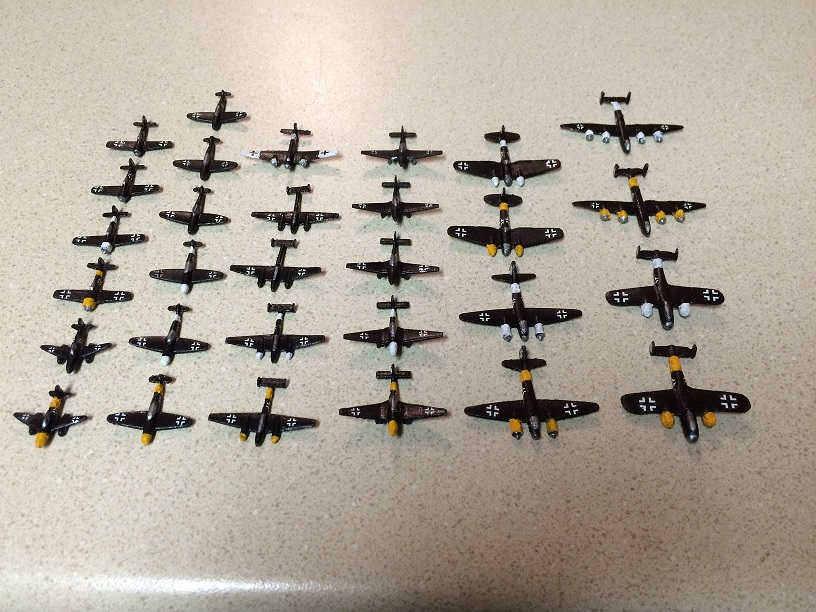
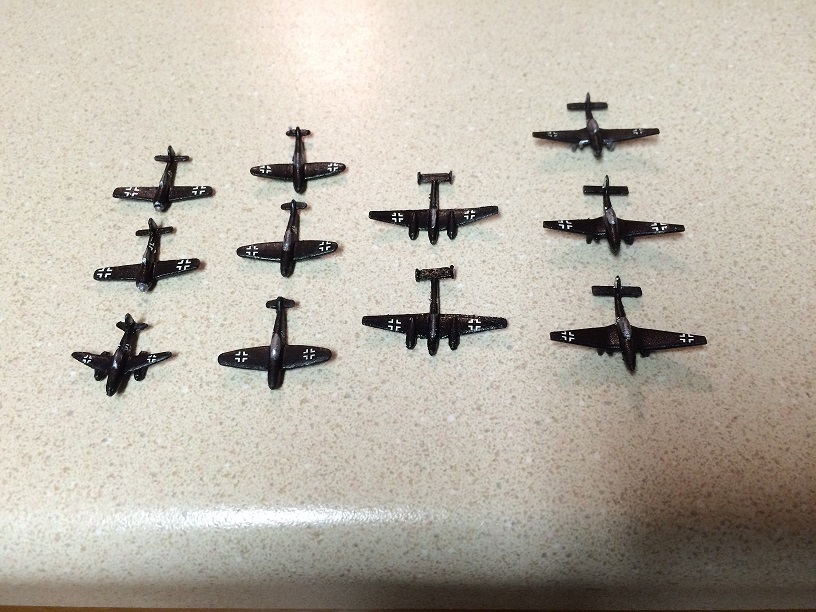
German Luftwaffe Painted in the Night Camo Scheme consisting of 30 planes: The original 3 Night Camo Planes are included in this group, which consists of two BF 109’s and a Stuka dive bomber. Enjoy! :-D
As night falls on the European landscape, the Luftwaffe pounces on its prey, like banshees screaming through the crisp night air, and suddenly the battle was over, before it began.
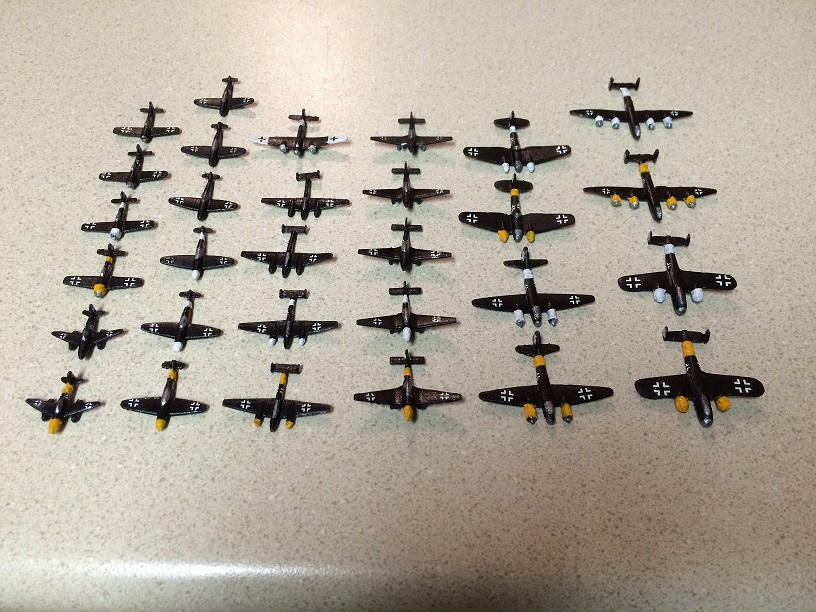
The first two pictures are all 30 planes together.
-
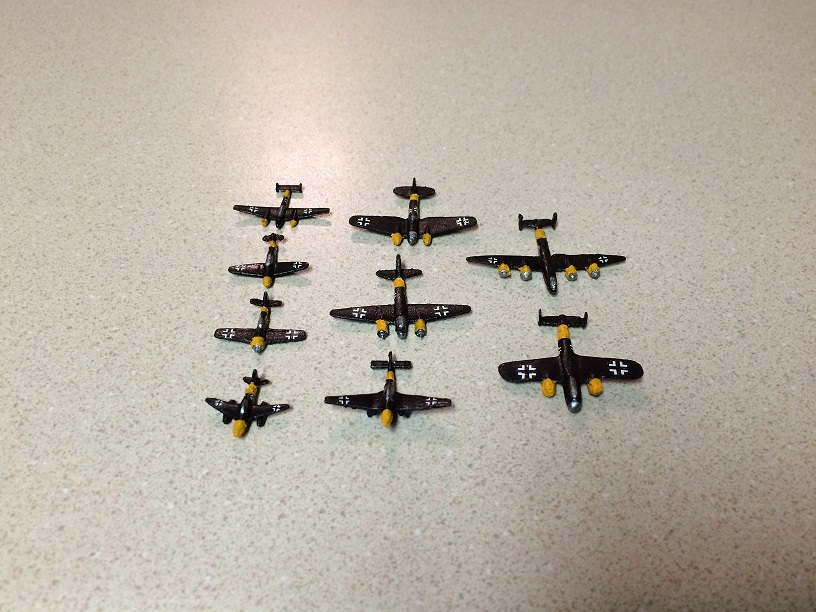
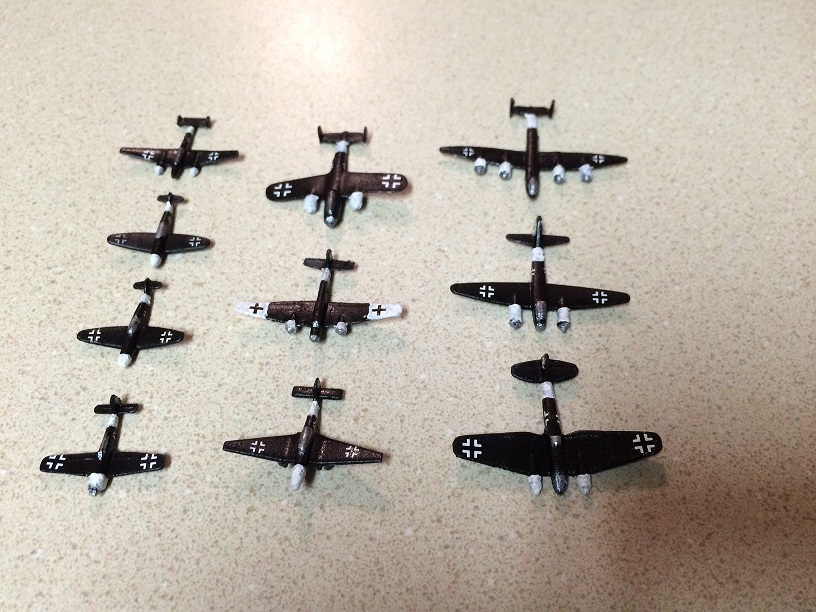
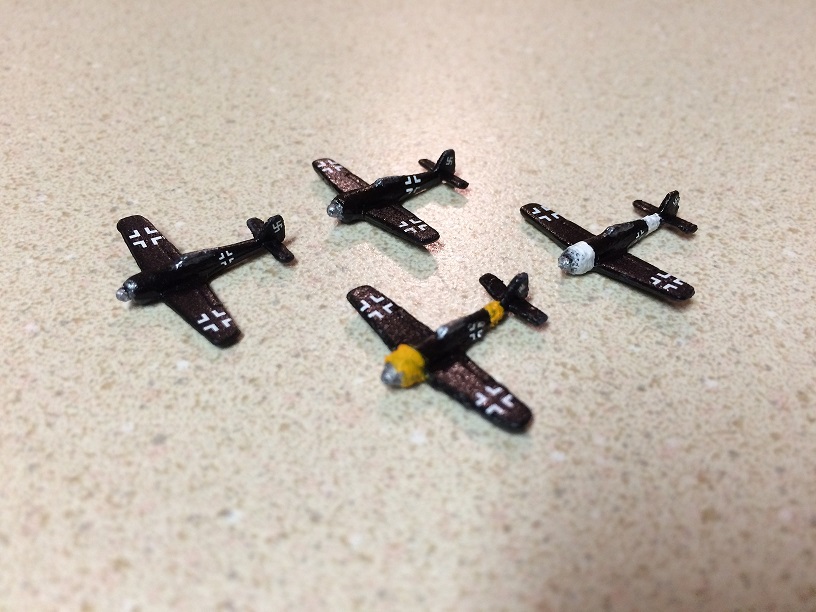
The next two pictures are planes with the yellow markings and white markings. :-D
-
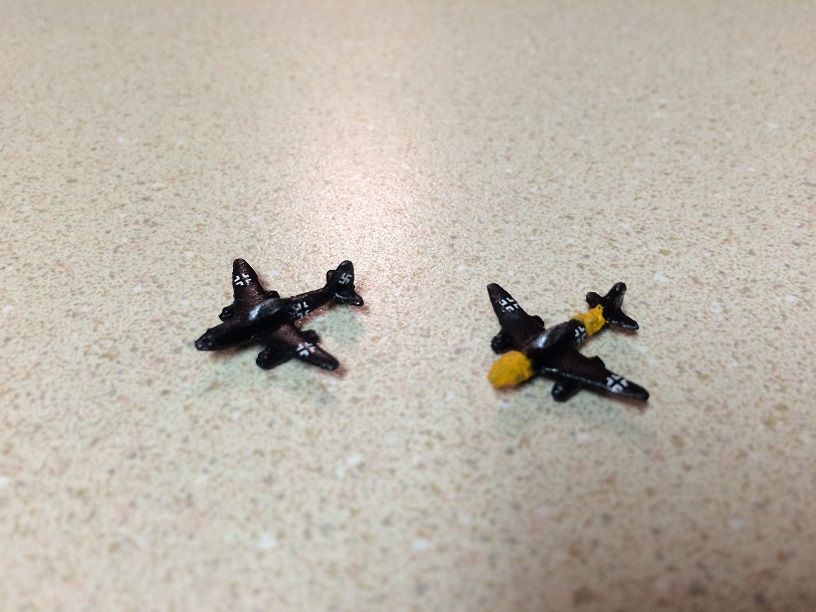
The next two pictures is the planes in all black, and a picture of the Me-262 Jetfighters. :-D
-
The next two pictures are the FW-190 and BF-109 fighters.

-
The next two pictures are the twin engine Me-110 fighters and the Stuka Dive Bombers. :-D


-
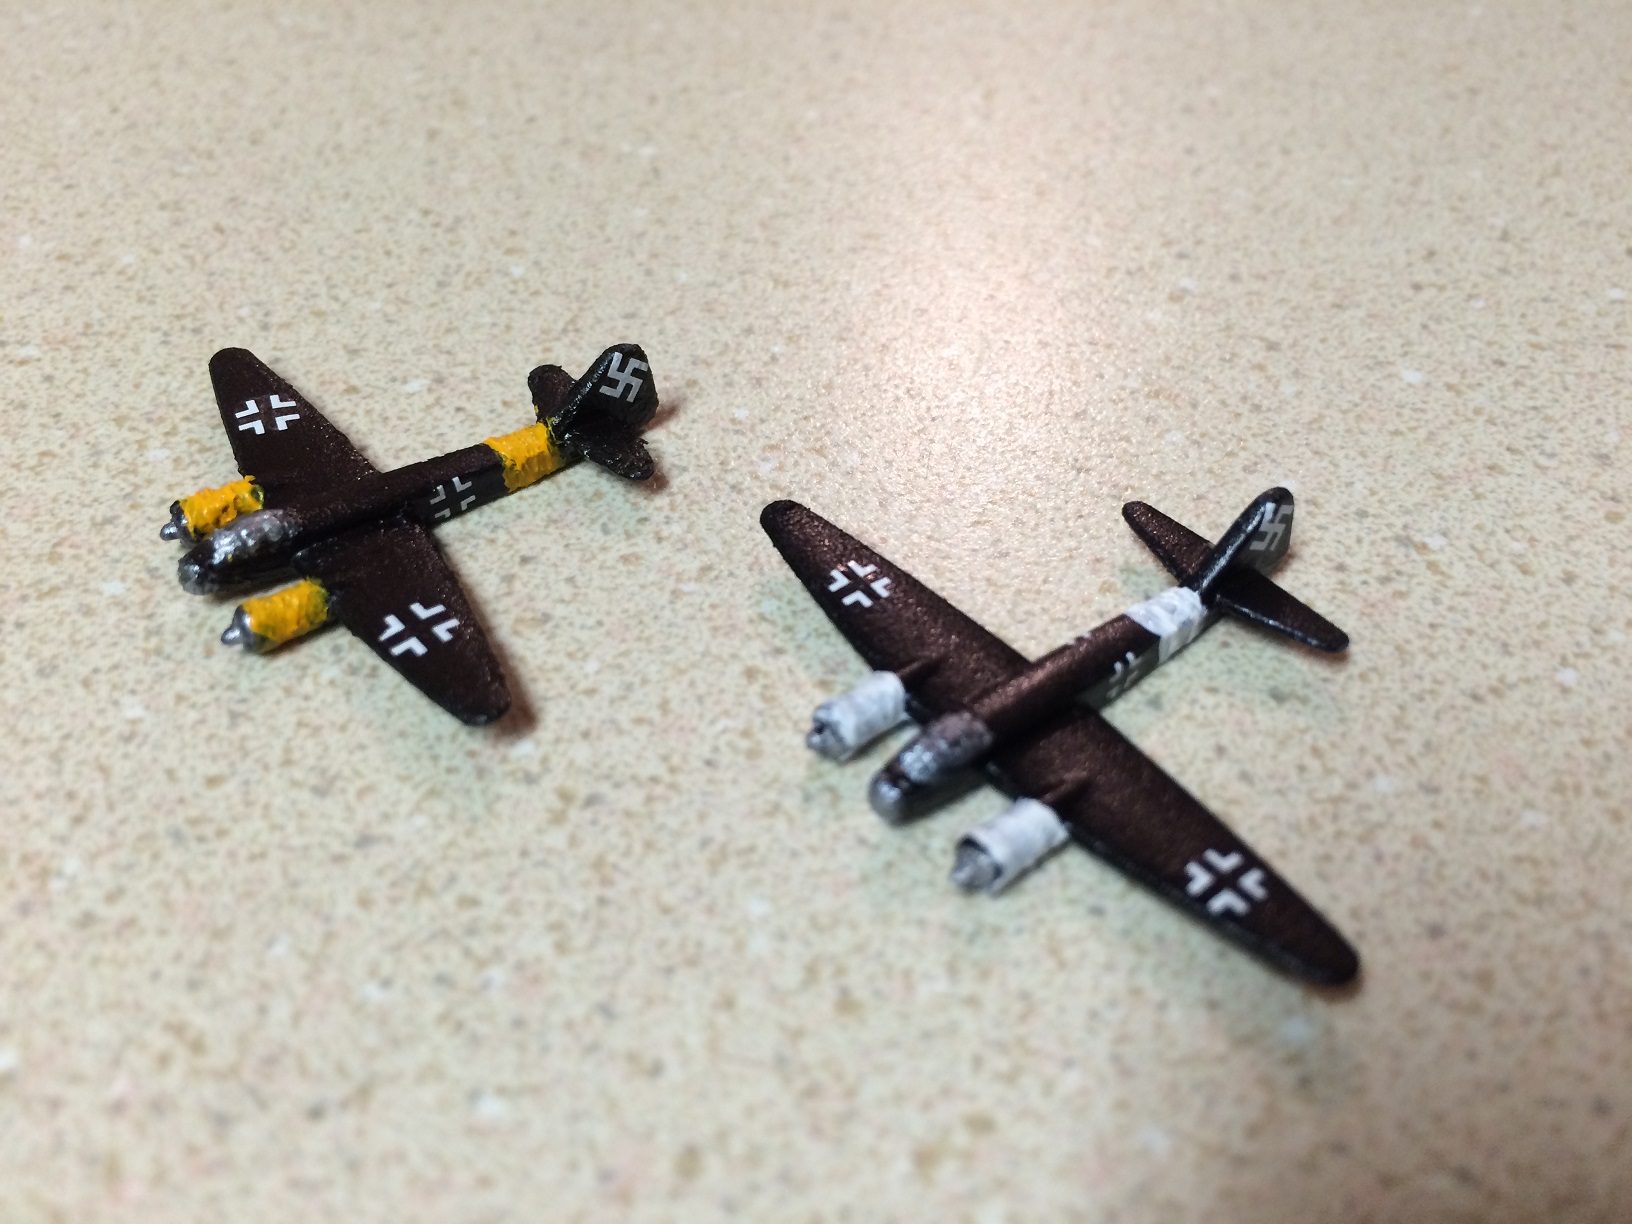
The next two pictures are the ju-52 transport plane and the Ju-88 bombers.
-
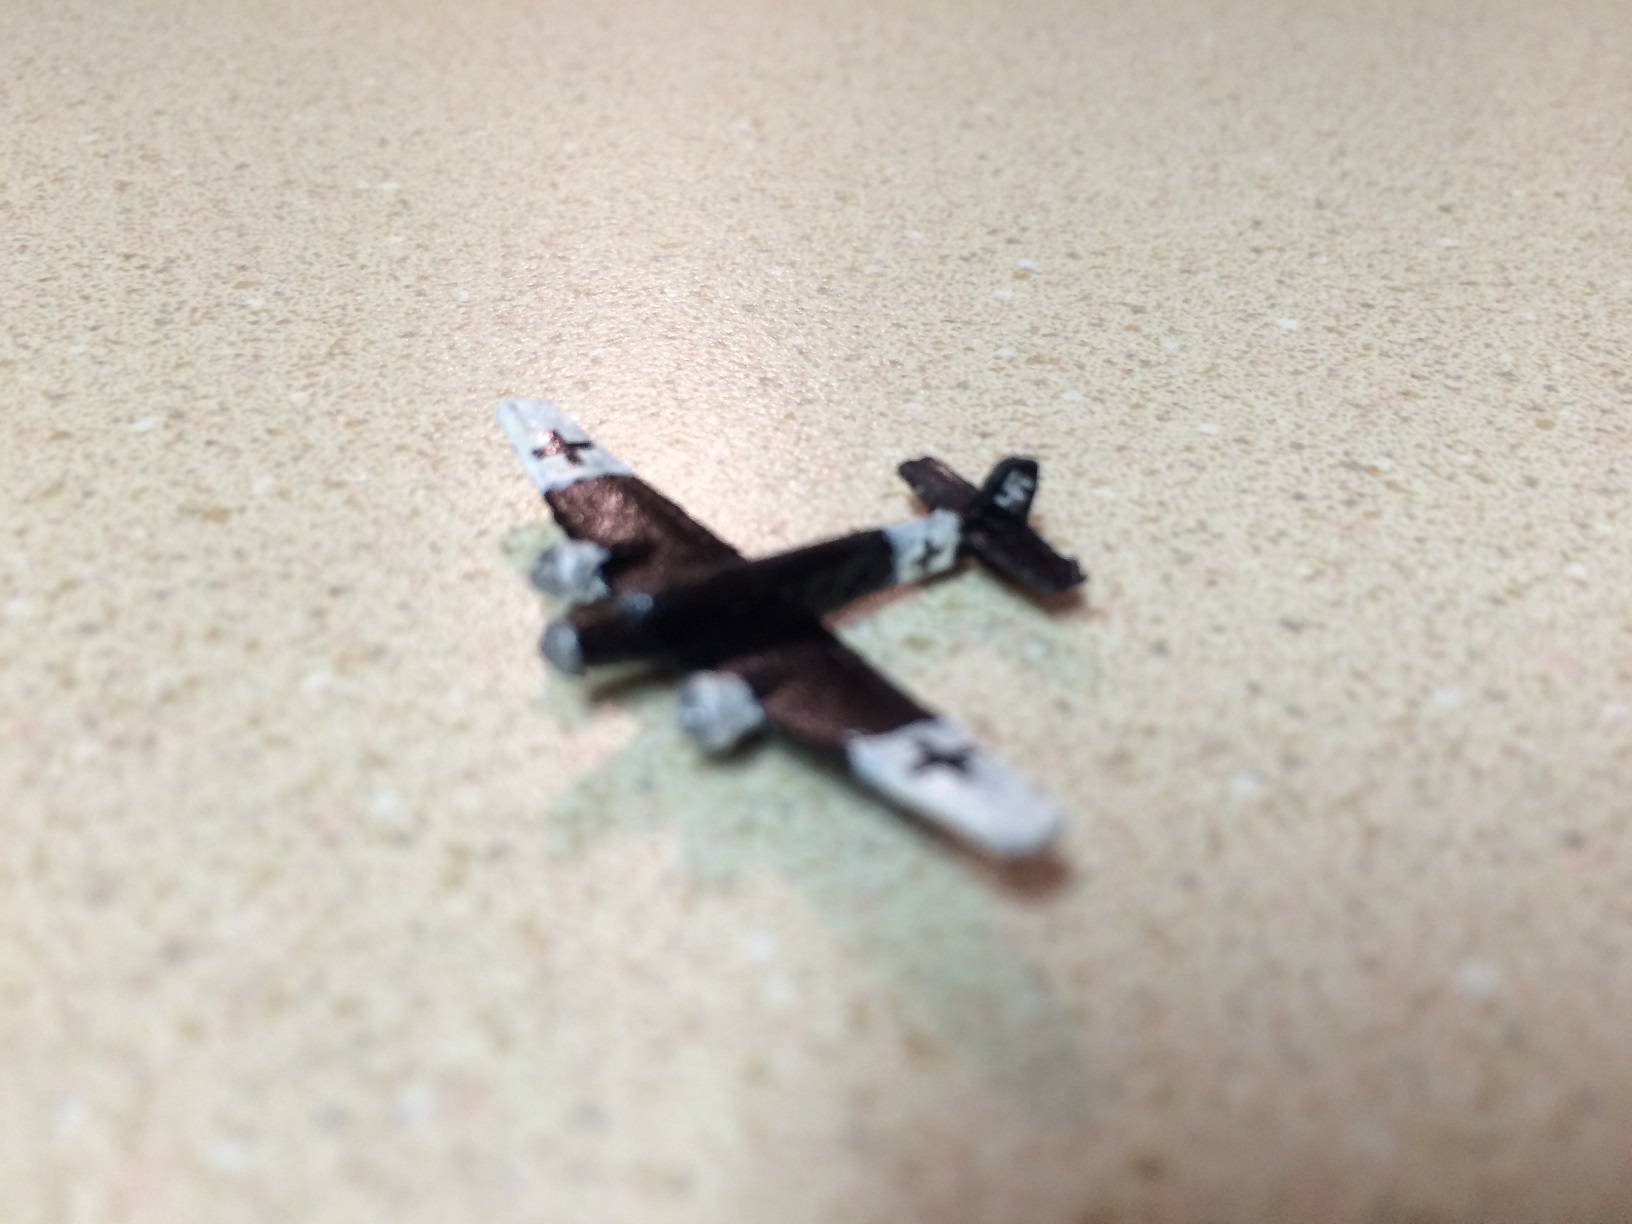
The next two pictures are of the Do-17 medium bombers and the He-111 bombers.


-
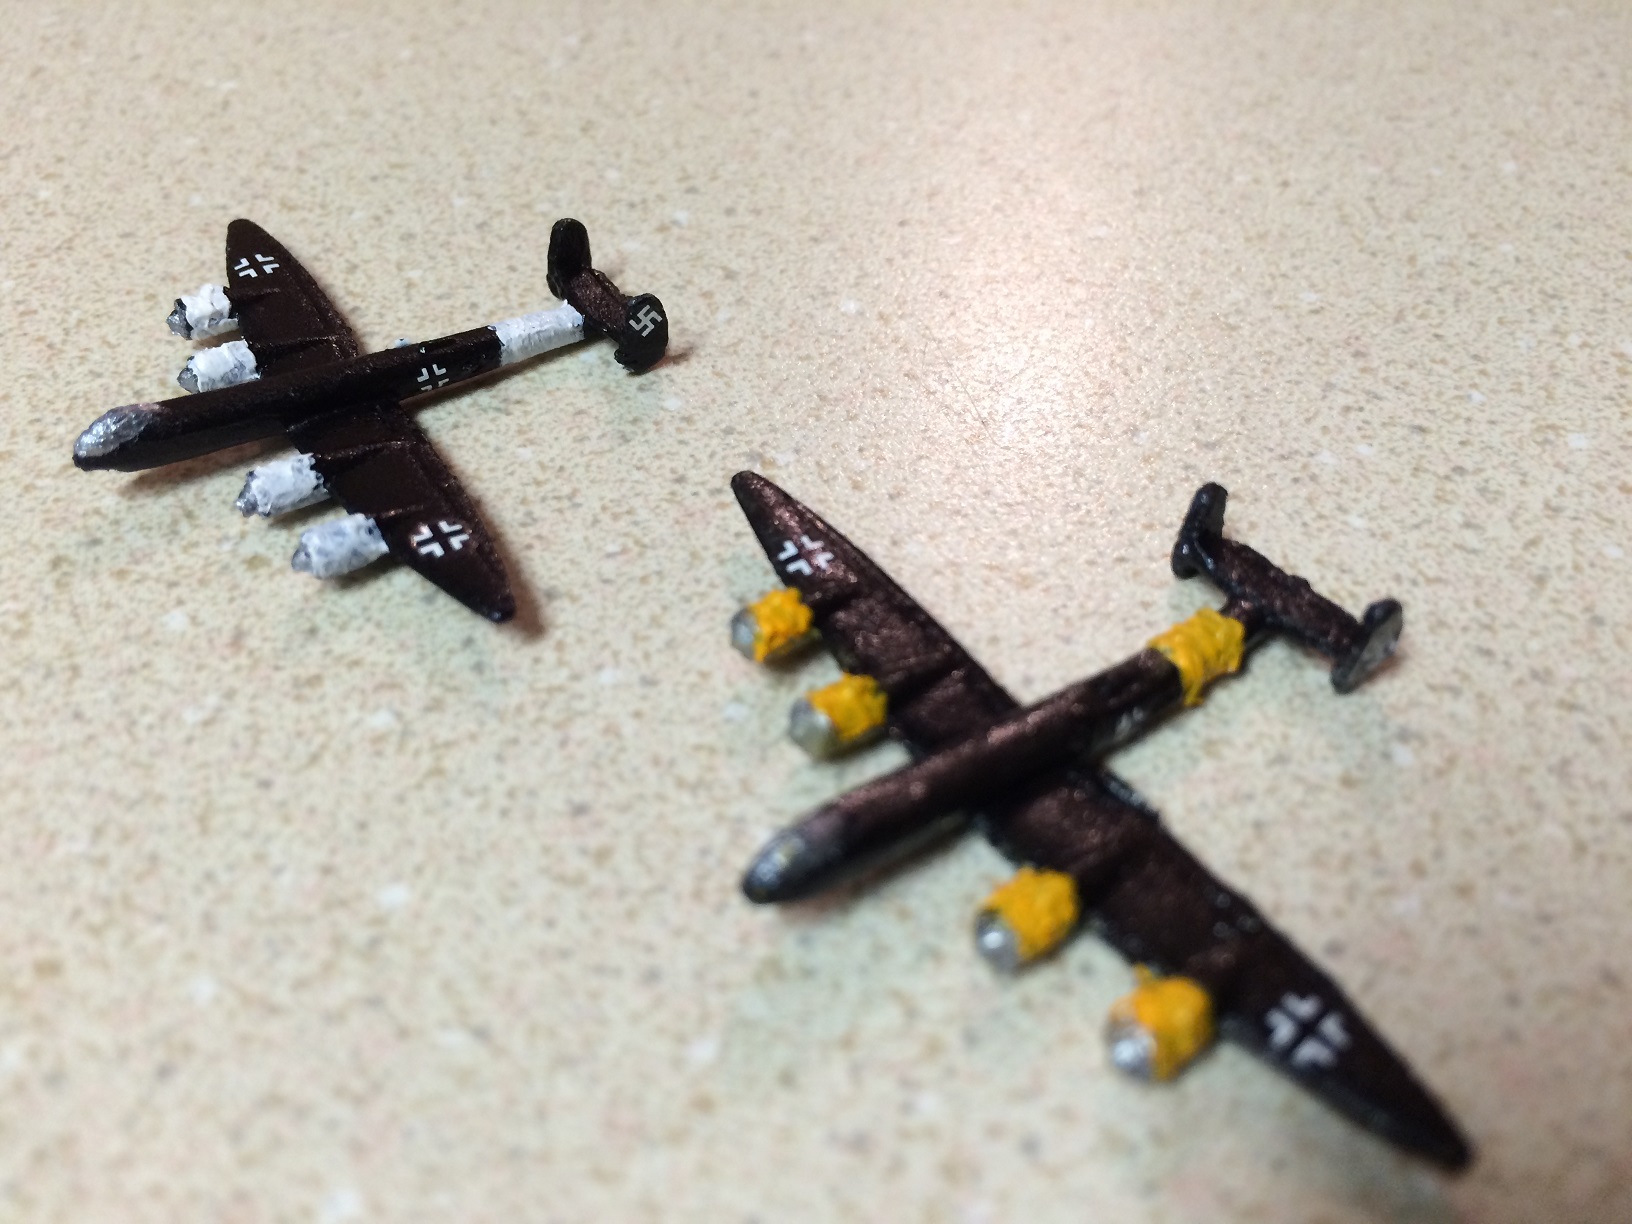
Last picture guys, of the Ju-488 heavy bombers.
I hope you’ve enjoyed them.
As you can see, I still have to work on a few things, but I don’t think it is bad for a beginner. :-D
-
Awesome work i hope mu pieces will look half as good as yours :)
Did you use decals? -
Awesome work i hope mu pieces will look half as good as yours :)
Did you use decals?Yes, I had to use decals, because there is no way I could have painted those. I don’t have the skills to do that. One of the things, I need to find out is how to do the stripes better and what brush every one is using and how to smooth out the nose and stripes, so that they don’t look so rough.
If you compare mine in pictures with everyone else, theirs is smooth and mine is not. I don’t know how they are doing it or what they are using.
I never done this before, but if I can do this, anyone can. I’ve never even painted before, so join the club.
The more the merrier, my friend.
Thanks for the support and compliments, Wizl007! :-D
John
-
Very nice work John! Yellow always seems to clump up for me too. I usually paint some on a piece of paper first to make sure the clumps are out and even dilute with very little water. You might have to paint an area several times with small quantities to keep the background color from bleeding through.
-
Very nice work John! Yellow always seems to clump up for me too. I usually paint some on a piece of paper first to make sure the clumps are out and even dilute with very little water. You might have to paint an area several times with small quantities to keep the background color from bleeding through.Â
Thanks Cyanight, I appreciate it!
What brush do you use for the stripes?
-
I use the smallest I can find or a pin. I’m not very good with pins though but trying :)
-
I use the smallest I can find or a pin. I’m not very good with pins though but trying :)
OK, thanks Cyanight, that helps. I appreciate everyone’s help, because I want to get better. I did use IWillNeverGrowUp’s idea of using the protective coat before the decals and after. I think that helped me quite a bit.
What is the difference of using enamel vs acrylic gloss protective coating on acrylic painted pieces?
Can you put too much of the protective spray on?
Does anybody know?
-
Can you put too much of the protective spray on?
If the sculpt ends up looking like a prehistoric insect encased in a block of amber, I’d say that was an excessive amount of spray. :-D
-
@CWO:
Can you put too much of the protective spray on?
If the sculpt ends up looking like a prehistoric insect encased in a block of amber, I’d say that was an excessive amount of spray.  :-D
LOL, well as long as mine don’t look like I’m using too much, then I guess I’m doing OK.
Thanks CWOMarc! :-D
-
What is the difference of using enamel vs acrylic gloss protective coating on acrylic painted pieces?
The difference is a potential loss of your painting work. In a few words to a complex issue: it is better to cover water based colors (Vallejo/Acrylic paints) with water based coatings. It is also no problem, to coat enamel colors with a water based/acrylic coating. It will be dangerous, if you paint/coat on water based colors with (alcohol based) enamels. The solvent of the enamels (alcohol, toluol, turpentine) can “dissolve” the water based color (acrylic paint), that is, the solvent of the enamel/enamel gloss protective could “creep” into the acrylic layer. This may lead to bubbles and similar effects.
On the other hand: working with very thin layers of enamel protective gloss on acrylic paints can work, but that’s a b*tch. I tried this on self made decals printed with water based inks and it worked, but it took me some time to gain promising experience.
Can you put too much of the protective spray on?
See above, you can just put on the wrong protective coating. On the other hand, if you aim to paint well, apply the coatings in thin layers: it is better to coat 3 times in thin layers than 1 time like “a prehistoric insect in a block of amber”. Very importent: let the color you are going to coat not only dry but harden.
-
I use the smallest I can find or a pin. I’m not very good with pins though but trying :)
OK, thanks Cyanight, that helps. I appreciate everyone’s help, because I want to get better. I did use IWillNeverGrowUp’s idea of using the protective coat before the decals and after. I think that helped me quite a bit.
What is the difference of using enamel vs acrylic gloss protective coating on acrylic painted pieces?
Can you put too much of the protective spray on?
Does anybody know?
Glad to have helped some! :)
I tend to use acrylic varnishes, but I have used enamels as well. The trick is to make several VERY light passes allowing it to dry completely in between, rather than one or two heavy coats.
As mentioned above, enamel on top of acrylic has the potential to destroy your paintjob, but, thankfully I have yet to have that problem.
My general painting process is as follows;
-Primer (white for bright colors, black for rich, dark colors, grey if I’m unsure. Any cheap ol’ primer will do generally)
-Allow to dry 24+ hours
-Base colors
-Highlight/Detail colors
-allow to dry 24+ hours
-Gloss varnish (I tend to use Krylon acrylic gloss)
-allow to dry 24+ hours
-Decals if required
-Gloss varnish (very light coat)
-allow to dry 24+ hours
-Matt varnish if you don’t like the gloss look (I use Testors Dullcoat almost exclusively - it seems to work the best to completely take off any shine)
-done!A few other tips that may help;
-White and Yellow are ALWAYS the worst colors to work with. Red can be a pain sometimes too.
-Patience is a virtue
-Several THIN coats is better than one thick coat of paint, especially over dark base colors
-Thin your paints - Never use your paints 100% out of the bottle. Put a little bit on a palette and add about 1/3 to 1/2 as much water (or, even better, use a flow aid (find one at your local art supply store) or a paint “medium” (I tend to use Matte Medium, but there are gloss and semi-gloss as well) as it maintains the paints qualities (pigmentation specifically) better than water. On pieces this size, it’s not much of an issue though, water works like a charm. Thinned paints flow easier and look smoother in the long run but you WILL require more than one coat in 90% of the cases and it will take a little longer to dry.- Use the smallest brush you can find for details and never let the paint get up into the metal part that holds the hairs or it will destroy it
-
Thanks guys! Both of you have some great advice. I try to listen to everyone and see what will work for me. The end result is too have a good looking piece, but have fun doing it. :-D
Suggested Topics

