


PRE-ORDER both games at Combatminiatures.org! Get yours Now.
RGS02818-Axis-Allies-Stalingrad-box-2000px-shadow-3D-v2024_David_LHuillier__48637.png RGS02729-AA-BoB-Box-2000px-shadow-3D-v2024_David_LHuillier__49576.png
HBG - Axis & Allies Parts/Accessories and Custom Piece Sets Store!
-
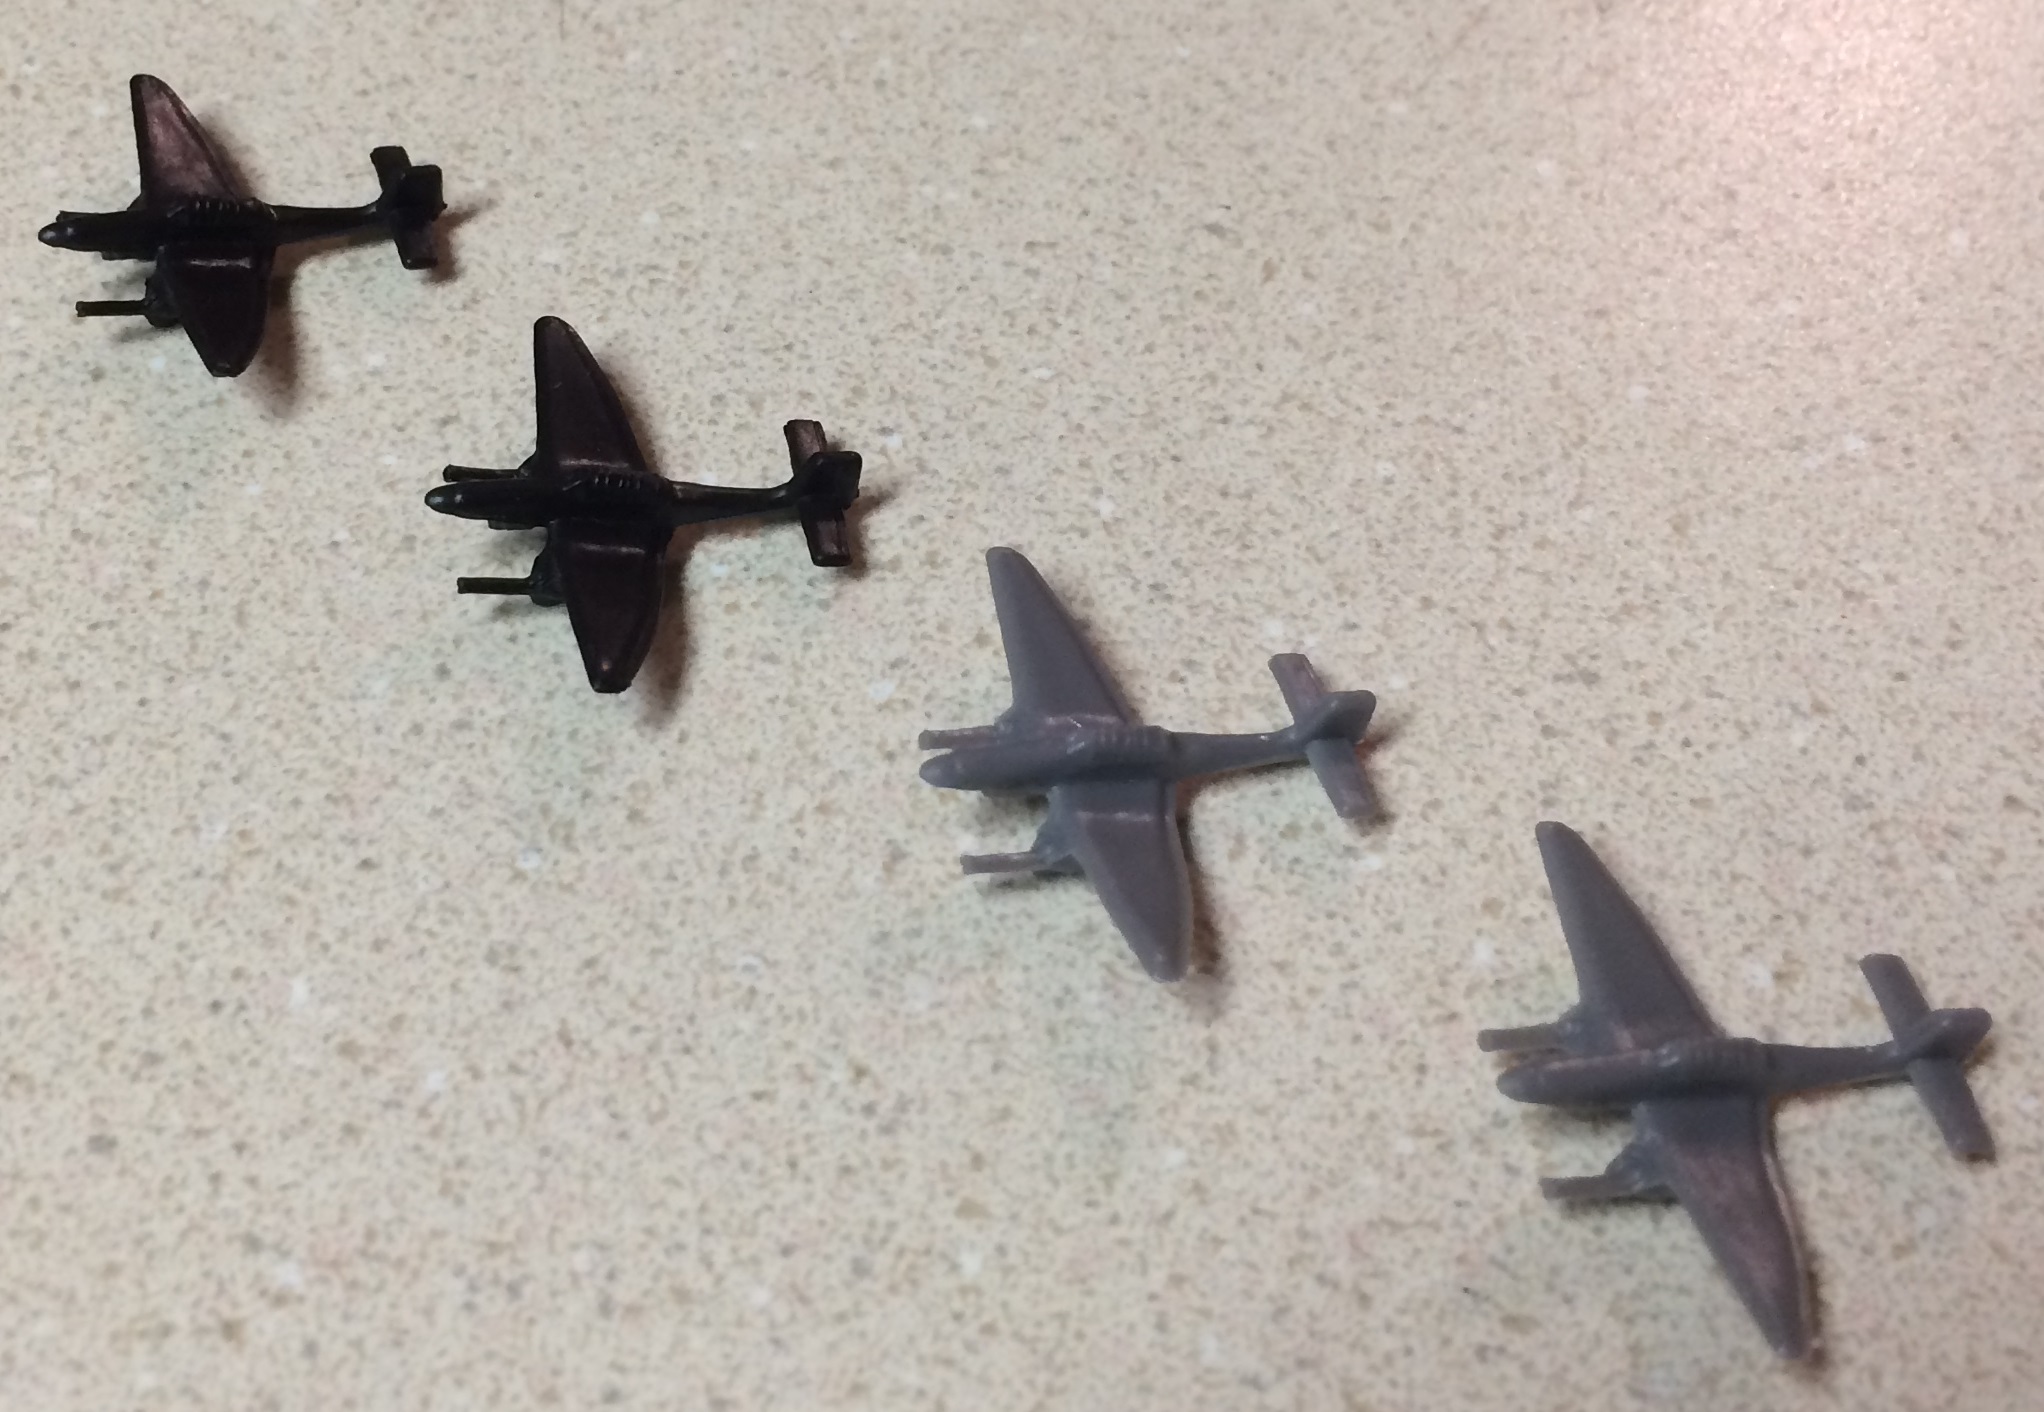
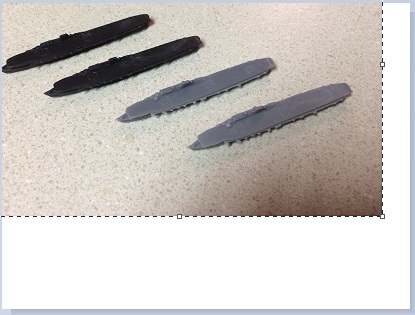
Thanks John. Yeah Bismarck is pretty ugly, but hopefully the 3D print works out. Graf Zeppelin looks a little messed up towards the front of the flight deck, but it could be the pictures. Everything else looks pretty good.
-
Thanks John. Yeah Bismarck is pretty ugly, but hopefully the 3D print works out. Graf Zeppelin looks a little messed up towards the front of the flight deck, but it could be the pictures. Everything else looks pretty good.
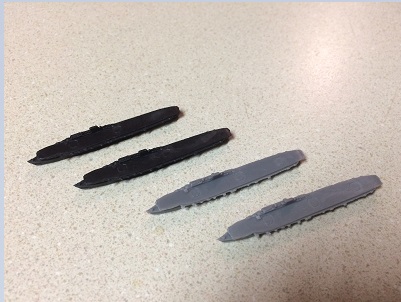
No problem. I will try one more time to post pictures of the early war fighter and the light cruiser, which HBG, will do a 3D print on it, since it was messed up too. If you pre-ordered, you will get the light cruiser, if not, you will have to wait for the 3D printed one.
If I can’t get these pictures on here, someone else may have to do it. I’ve tried everything and for some reason, it is not letting me post them.
-
If I can’t get these pictures on here, someone else may have to do it. I’ve tried everything and for some reason, it is not letting me post them.
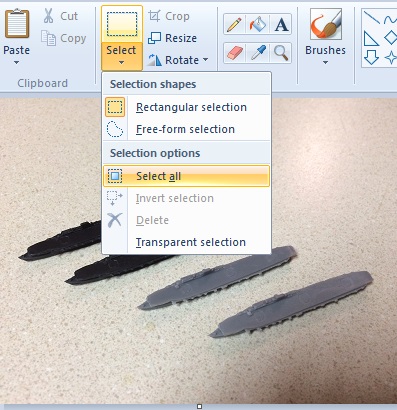
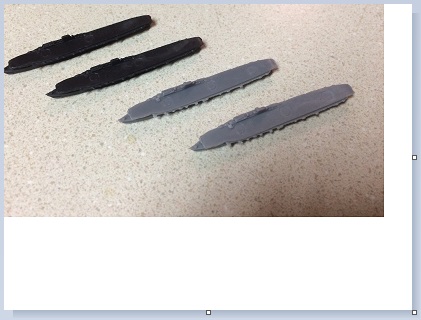
Try chopping out the empy space around the sculpts to reduce the picture size, as in the example below which I reworked from one of the pictures you posted.
-
@CWO:
If I can’t get these pictures on here, someone else may have to do it. I’ve tried everything and for some reason, it is not letting me post them.
Try chopping out the empy space around the sculpts to reduce the picture size, as in the example below which I reworked from one of the pictures you posted.
Hey CWO Marc, how do you do that? Sorry for asking, but everything I’ve learned about computers has been by asking, because I didn’t take computer classes in school.
Thanks. :oops:
-
Hey CWO Marc, how do you do that?
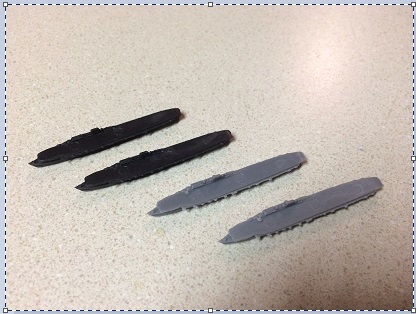
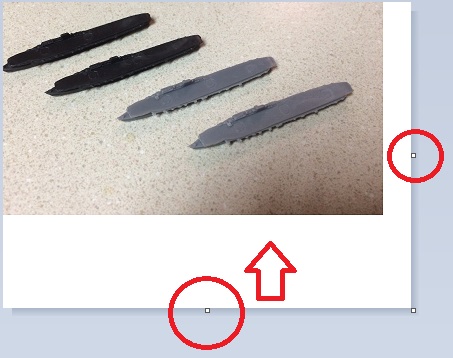
When you’re in Paint, start by clicking on Select / Select All. A dotted line will appear all around your picture. Click-and-hold the picture with your mouse (clicking anywhere on it will do) and drag it upward and leftward until you’ve brought the sculpt pictures close to the top and left margins. Next, click somewhere outside of the picture to exit Select All mode (the dotted line will go away). Next, click-and-hold the little square in the middle of the bottom margin of the window and drag the bottom margin upward until you’ve brought it up close to the sculpt pictures. Repeat the process with the right margin of the window. You should now be left with a neat, tidy picture with almost no unnecessary material around its edges. Re-save the picture (under a new file name, if you want to keep the original). In principle, your file size should now be much smaller.
-
@CWO:
Hey CWO Marc, how do you do that?
When you’re in Paint, start by clicking on Select / Select All. A dotted line will appear all around your picture. Click-and-hold the picture with your mouse (clicking anywhere on it will do) and drag it upward and leftward until you’ve brought the sculpt pictures close to the top and left margins. Next, click somewhere outside of the picture to exit Select All mode (the dotted line will go away). Next, click-and-hold the little square in the middle of the bottom margin of the window and drag the bottom margin upward until you’ve brought it up close to the sculpt pictures. Repeat the process with the right margin of the window. You should now be left with a neat, tidy picture with almost no unnecessary material around its edges. Re-save the picture (under a new file name, if you want to keep the original). In principle, your file size should now be much smaller.
Thanks CWO Marc, I will try to practice this after work tonight. Thank you so much for helping me.
John
-
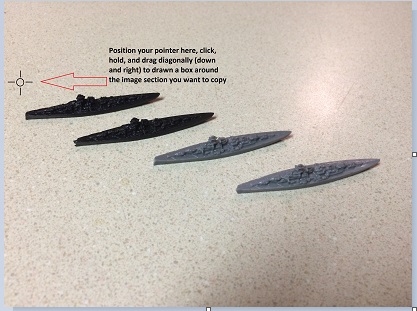
My pleasure. A sometimes faster alternative is to use the Select function and your mouse pointer to draw a dotted box around the part of the picture you want to keep, then use control-C to copy its contents, then open a new Paint window and use control-V to paste the selected part of the picture into it. It may not be much faster, however, depending on whether the new Paint window you open is smaller or larger than the picture you’ll be pasting into it. If it’s smaller, then there’s no difficulty: your pasted picture will automatically resize the window to exactly the correct dimensions. If it’s larger, however, you’ll need to tighten up your bottom and right margins manually. (The top and left margins will automatically be positioned correctly, so you won’t have to adjust that part.)
-
@CWO:
My pleasure. A sometimes faster alternative is to use the Select function and your mouse pointer to draw a dotted box around the part of the picture you want to keep, then use control-C to copy its contents, then open a new Paint window and use control-V to paste the selected part of the picture into it. It may not be much faster, however, depending on whether the new Paint window you open is smaller or larger than the picture you’ll be pasting into it. If it’s smaller, then there’s no difficulty: your pasted picture will automatically resize the window to exactly the correct dimensions. If it’s larger, however, you’ll need to tighten up your bottom and right margins manually. (The top and left margins will automatically be positioned correctly, so you won’t have to adjust that part.)
Ok, great to know. Thanks again, CWO Marc.
-
Hey Marc, I found the select all function, you were talking about, and the dotted lines. I understand you can move them in all four sides of the box. I’m stumbling, after I click off the dotted line. I understand clicking off the picture, but not finding the little square, you are talking about in the middle of the bottom margin of the window.
Shouldn’t you move the dotted lines on all four sides or am I doing something wrong?
In your instructions from the word, “Next, click-and-hold the little square,” I guess I’m lost after that.
Sorry, just not understanding that part, with my limited computer experience.
Thanks.
John
-
John, I would suggest looking for a Paint tutorial on Youtube. Probably easier than a written dictation of instructions. I have used Paint for years, and can sort of understand the written instructions, but I am sure a video would be much easier for you.
-
John, I would suggest looking for a Paint tutorial on Youtube. Probably easier than a written dictation of instructions. I have used Paint for years, and can sort of understand the written instructions, but I am sure a video would be much easier for you.
Thanks LHoffman, I have actually been looking at some today. i am a visual learner, so I appreciate your advice and appreciate CWO Marc’s help for sure.
Thanks again, to the both of you. :-)
Cheers.
John
-
i am a visual learner, so I appreciate your advice and appreciate CWO Marc’s help for sure.
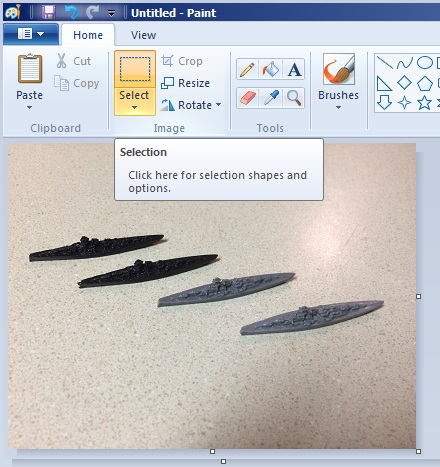
I’ve tried below explaining the process in a 9-picture sequence rather that words. I put the pictures together a bit quickly, so they’re very rough, but I hope they make things clearer. There’s a two-picture per post limit, so it will require a few posts to put them all up. Here are pictures 1 and 2.
-
Here are pictures 3 and 4.
-
Here are pictures 5 and 6.
-
Here are pictures 7 and 8.

-
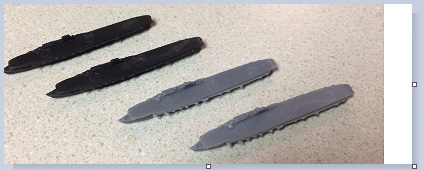
Here’s picture 9, the end result.

-
Thanks CWO Marc. I will try to look at this, after work, tonight. Thanks again.
John
-
Good luck. When you put your pointer on those little squares, it should turn into a double arrow (either up/down or left/right), and this will tell you that you’re correctly positioned to move the margin. Just click, hold, and drag to do so. Also note that there’s a similar little square in the bottom right corner of the window; if you grab that one (your pointer will turn into a diagonal double arrow) you can adjust simultaneously the bottom and right margins, which is a small time-saver compared to adjusting them separately.
-
Thanks CWO Marc, for the tip. if I don’t get this, I may have to find friend that is familiar with paint to show me what I’m doing wrong, but I will attempt it myself, tonight and see how it goes.
I really appreciate you taking your time to help me.
That is why I love this community. Everyone is willing to lend a hand to members, as well as guests. :-)
John
-
If the method above doesn’t work, try the alternative below (steps A to H).
Suggested Topics

