That’ll do it - and after you have used your playing pieces for a while, you’ll see if you need to spray a new layer of matt varnish.
2-3 layers - each layer thinly sprayed - and dry 24 hours between each layer.
You units will last a lifetime:+1:
I now have great respect for you guys that paint, because it is tough. Spitfire38 is still doing my set, because he has a lot more time than I do, but I decided to give it a try.
I won’t be as good as some of you that have been painting awhile, but I thought I would take a crack at it, but in smaller portions.
Look for me to post only pictures of what I paint on this thread. The things that Spitfire38 is doing will be posted on his thread.
My metal map thread, will have a combination of any painted piece, I have.
Be on the look out for upcoming projects that I will post on this thread, concerning painted pieces.
Feel free to comment me with advice, critique my work or any praise will be greatly appreciative. :-D
Thanks,
John
Complete German Forces!
Complete US forces!
Complete UK Europe Forces
Complete UK Pacific forces!
Complete Japanese forces!
Complete Russian forces!
Complete Anzac forces!
Complete French forces!
Complete Italian forces!
Complete Chinese forces!
Complete Pro Allied forces!
Complete Pro Axis forces!
Complete Neutral Countries forces!
Lastly, anything other than World War 2!
Good luck John! May your paint be ever-so-smooth, your brushes finely shaped, and your fingers always nimble. Join the club. :)
I will definitely be following this thread. You will enjoy painting John I can see it, hehe.
Thanks guys, I appreciate the words of encouragement. Since you guys are so supportive, I will go ahead and show you, my only two paint jobs, I’ve done.
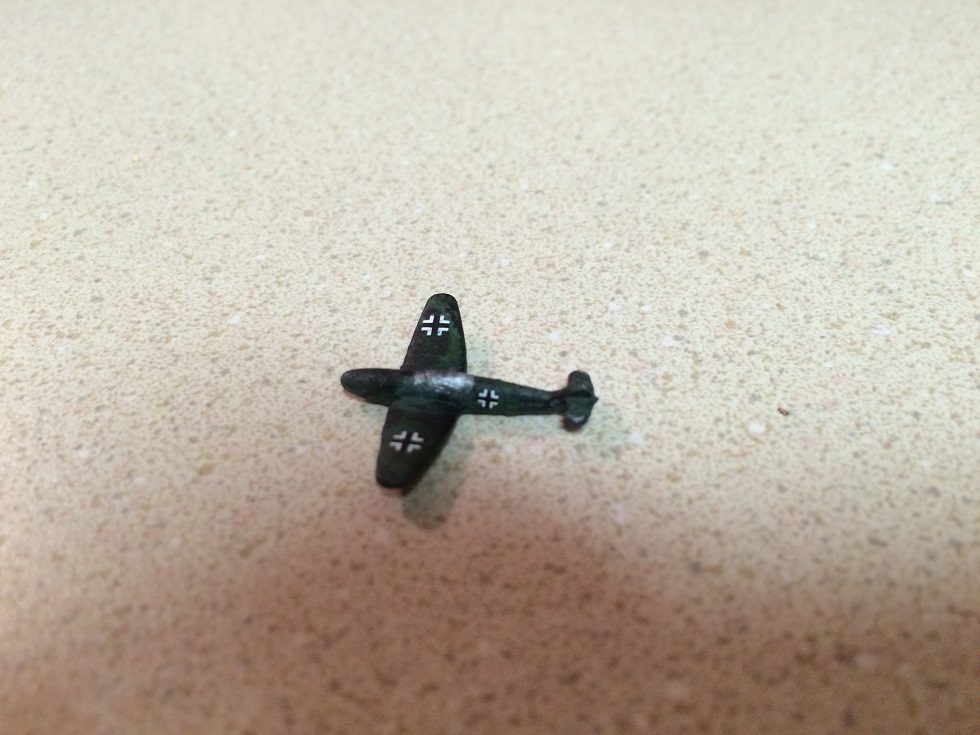
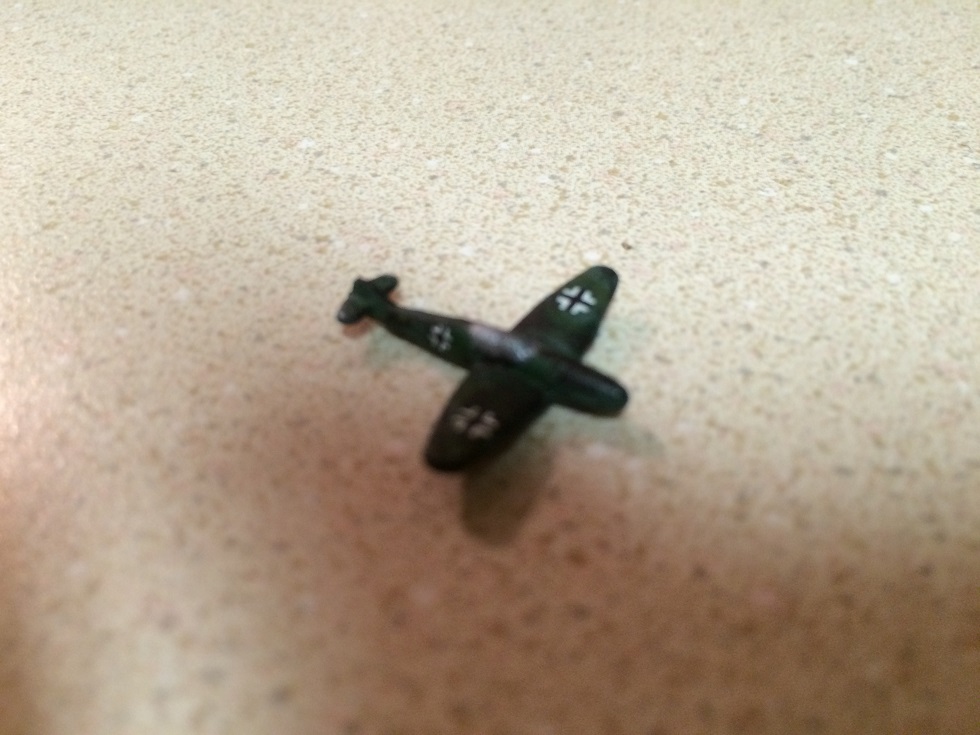
I painted 2 German BF 109’s.
The first one was a black BF 109. I tried to paint a simple white stripe by the side decals, the problem is, I don’t know how long you too wait for the acrylic paint to dry before you do nose coloring, stripes or camo. I used a gray primer, then I painted the main color black.
When I tried to paint the stripe, I had problems, even worse when I tried to paint the nose of the plane, it would have black still showing underneath. It was looking like one big glob of a mess.
Can you all explain how you do those things and make look smooth?
The second BF 109 was suppose to be a German Green Camo, with dark and light green stripes, here again, I don’t know when to add the next camo color, because I don’t how long you wait for it too dry.
For some reason, it came out awesome, because I smeared four colors and made this affect on the plane. Now, it doesn’t have the distinct camo lines, as the German green camo, normally has, but I think it still looks sharp.
I would fly it, LOL.
Also would have liked to had a yellow nose with yellow side stripes, but maybe, you all can give me some advice.
Without further delay, here is my first works. Enjoy! :-D
John


Those pictures did not turnout great, let me take separate shots of them. I’ll be back! :-(
I hope this is better!