Are the arrows small enough to fit on the rudder?
60327_p1_large.jpg
HBG's British supplement set
-
so here are some examples of where I would use my first fine detailing brush…I use the edge of the thin brush for painting the silver on along the front wing tips of aircraft…also for edges I want worn out on tanks as well…
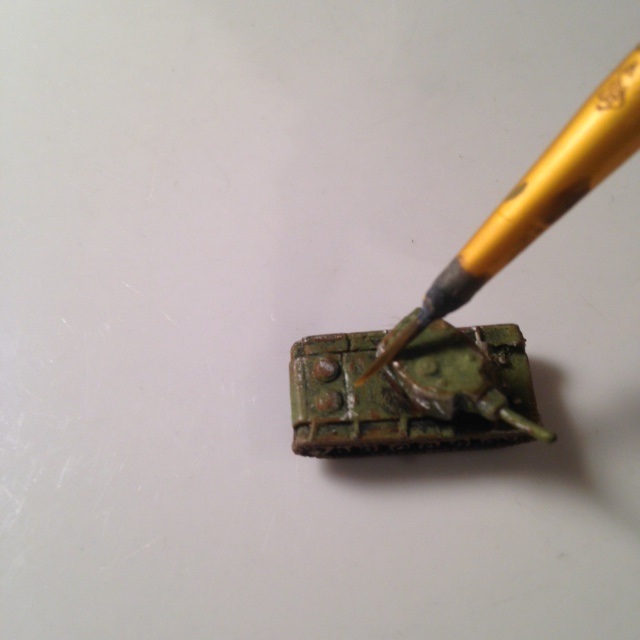
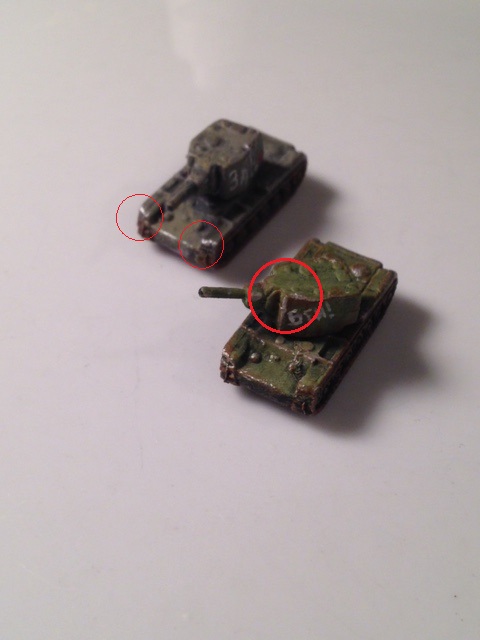
-
heres some weathering on some as “Tall Paul” coined “Seno-RITA’s” I like too do the edges of the wings and tail wings…aswell as the front of the noses. Its also good too have a good contrast in color for the weathering, dark greens, blues, browns otherwise the silver paint kinda gets washed out. I also try and stay away from weathering the heavy camo schemes…otherwise it just gets too busy IMHO
.jpg)
.jpg)
-
…
.jpg)
-
for the barracuda’s once I painted in the panel lines on the wings, I painted some silver spots close or on those panel lines, cause I figured realistically paint on a plane would be lifting along the edges of those lines…
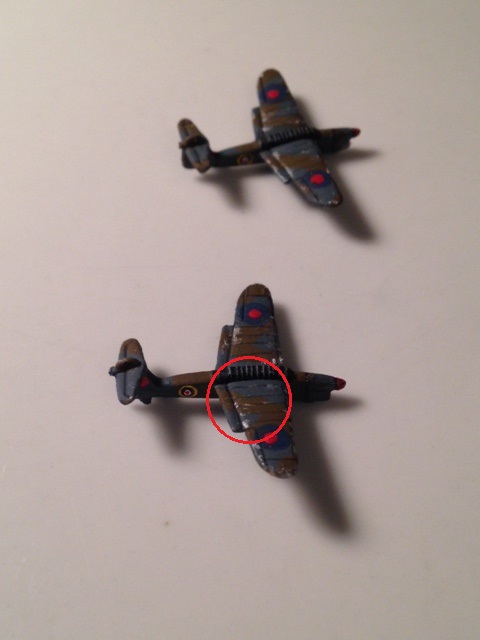
-
…
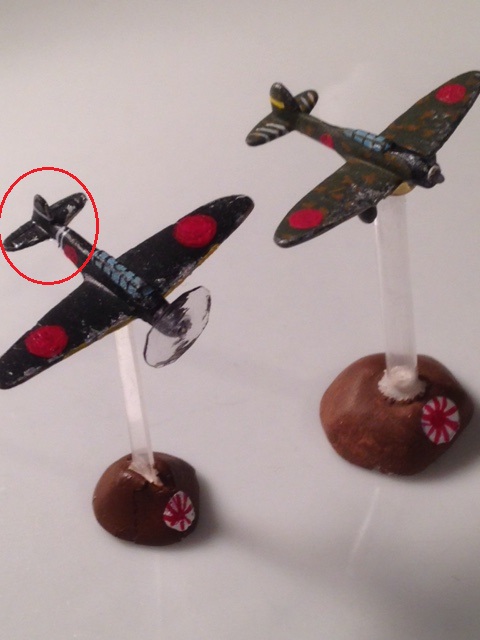
-
next I have my medium brush…the middle brush its short and stubby the bristols are all split. I like too use that one too create big flakes of paint that have come of a wing where a lot of aluminum might be exposed. Japanese Vals are great for this one…
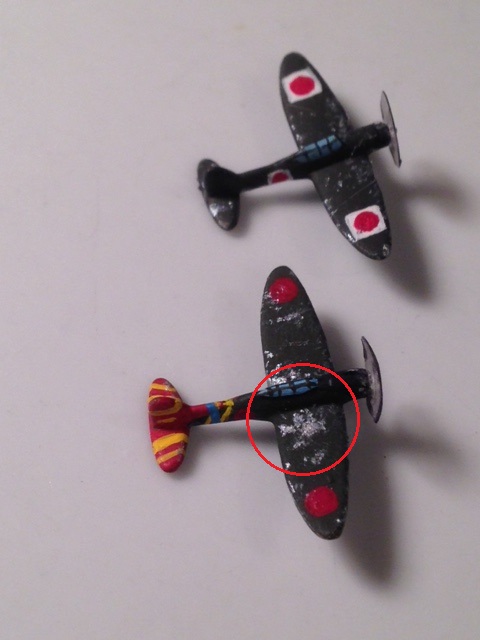
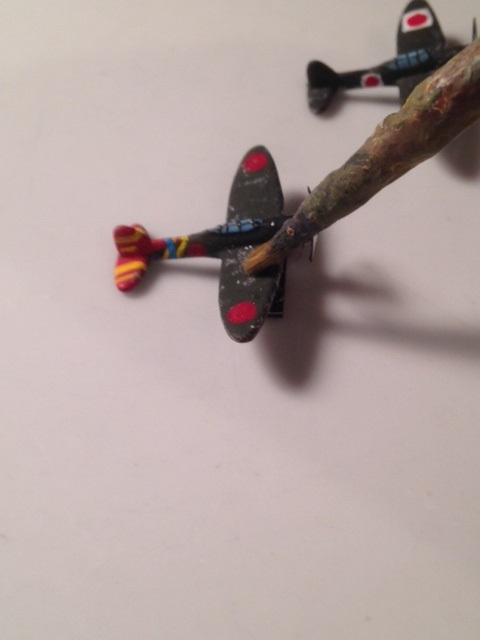
-
and my final brush the last one…the fat boy. it has its long fan, and can catch ever little detail in the sculpt. I like to use this one for adding maybe rust to a tank or vehicle. If I am trying for the rust effect I will just throw a little brown in the silver and a dab of red. Then I just dry brush over the body, or the tracks if its a tank.
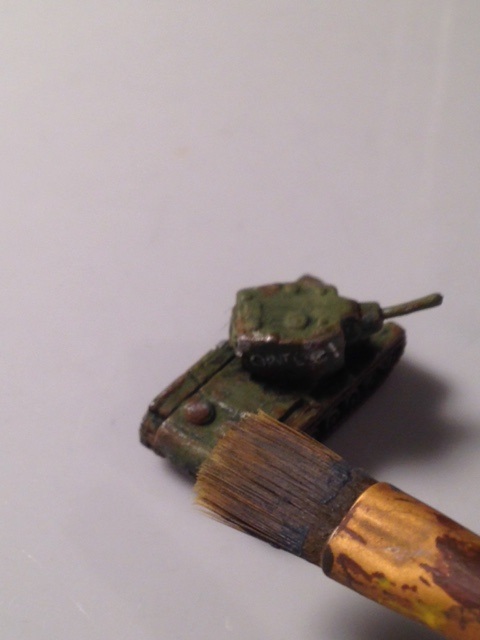
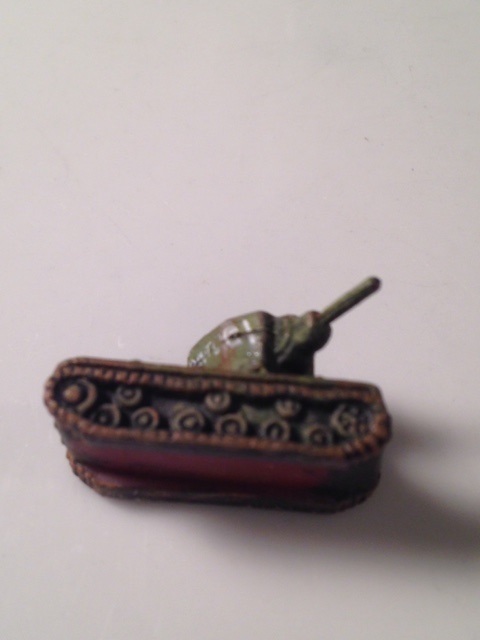
-
hope this can give some ideas! I will say I tend too be more particular with details and extras on the pieces but that’s cause I am only painting 2-4 of the unit types. I have mad admiration to the volume guys who are turning out quality units in variety of colors squadrons and shear numbers! wow guys!
Spitefire38, any chance you could do a few stage shots of your infantry men? I m curious too see your process and how you get your colors and details on the men? if you get a chance of course :-D
-
Thanks for showing these pictures. It helps to know what to use, when seeing a visual reference. :-)
-
Excellent! The battle weathered look is what I am trying to go for in most of my pieces. Great work and thanks for the photos.
-
Lhoffman, yes I think it doesn’t take too much time to add alittle weathering too your pieces and with some of the detailed sculpts that are coming out, it all just adds too the eye candy on the game board!
-
hope this can give some ideas! I will say I tend too be more particular with details and extras on the pieces but that’s cause I am only painting 2-4 of the unit types. I have mad admiration to the volume guys who are turning out quality units in variety of colors squadrons and shear numbers! wow guys!
Spitefire38, any chance you could do a few stage shots of your infantry men? I m curious too see your process and how you get your colors and details on the men? if you get a chance of course :-D
This was actually really helpful. I think I like minimal weathering, so I would probably just use your small brush technique and your dry-brushing, but the nice part about weathering is that you can apply as much as you want. Your rust on your KV-1s looks really nice as well - I add rust, but I don’t mix in the silver with it; I think I will start doing that on my personal pieces from now on. Thanks for the tutorial! And I’m glad to hear that my tutorial thread helped out a little bit. I want to get back to doing tutorials, but I don’t know what people want to see.
Once I start the next pieces for John, I’ll do some staging shots and tutorials. So you want to see how I choose/mix colors and how I get the details? In the face, uniform, gun…? I’ll hopefully have time for some more painting this weekend, where I’ll do John Brown’s Japanese ground forces.
-
And I’m glad to hear that my tutorial thread helped out a little bit. I want to get back to doing tutorials, but I don’t know what people want to see.
Once I start the next pieces for John, I’ll do some staging shots and tutorials. So you want to see how I choose/mix colors and how I get the details? In the face, uniform, gun…? I’ll hopefully have time for some more painting this weekend, where I’ll do John Brown’s Japanese ground forces.
I don’t remember if this is the one I asked you for or your response to one of my questions, but it was excellent. I don’t have much time to devote to making tutorials and I mostly just experiment with what I think will work well. But having a proven method explained (with pictures) can be invaluable. Nice work.
An infantry tutorial would be most helpful for me I think. I have only made one attempt at infantry, which went pretty well. But I need to refine my technique and get the wash process down, instead of just drybrushing over layers. And I am considering not even attempting to draw out details of faces in the future. Easier just to do some sort of matte color on them. Plus they won’t turn out looking like something from Freddy vs Jason. Wow this photo lighting is poor.
-
I the same as you Hoffman. I haven’t spent much time on infantry as I just needed shear numbers for game play. But spitefires infantry have inspired me too put some time Suddenly the 3 ipc meat shields painted so well makes you cringe too lose them off the board! I just dry bruhed color layers on my infantry too but am clearly lossing some depth and blends the washes brings out. I think your GI here has some good color depth on his uniform.
Ha! True. I like your phrasing. And I agree. Would love to see yours when you get to them.
-
I don’t remember if this is the one I asked you for or your response to one of my questions, but it was excellent. I don’t have much time to devote to making tutorials and I mostly just experiment with what I think will work well. But having a proven method explained (with pictures) can be invaluable. Nice work.
An infantry tutorial would be most helpful for me I think. I have only made one attempt at infantry, which went pretty well. But I need to refine my technique and get the wash process down, instead of just drybrushing over layers. And I am considering not even attempting to draw out details of faces in the future. Easier just to do some sort of matte color on them. Plus they won’t turn out looking like something from Freddy vs Jason. Wow this photo lighting is poor.
Like you say LHoffman, experimentation is the best way to figure out what works. I haven’t painted a single piece where I was entirely sure of how I was going to do it. It’s always some uncertainty in color mixing and how the colors will change once washed, or uncertainty in how the camo will turn out, or if the drybrushing will be too much… you get the picture. I see what you mean by “Freddy vs. Jason”. He’s a rather terrifying GI :-o
Ok, I will post an infantry tutorial next time that I paint infantry. Either the Chinese or ANZAC infantry will be next.
-
Great spitefire thanks! If you could really focus in on your washes…that would be great for myself personally. All the pieces I have painted have all been mixed color and dry brushed. Your style seems too implement washes even with ships planes and tanks? It looks like on John Browns japanese naval units there could be some washes over some of the ships?
Yes, I have started washing every single unit that I paint except for some planes. I only wash planes that are painted dark and have good details to be brought out. (Look at the FW-190s from HBG to see what I mean.) It is my version of “weathering” or battle hardening it. It makes it look like it’s got a coat of dirt, dust, and grime on it.
-
Just looked over your thread again spitfire. Saw you 190’s very cool effect they do look like they may have been supporting some of rommels Afrika core in The desert! Ever thought of showcasing some of your other units spitfire? Maybe more of your air? I would love to see more of your renditons of airpower for the nations! Lhoffman has some great air he painted with just about every air unit type painted for the Germans in dark green schemes.
