


I haven’t used that map, but I’d recommend scaling your pieces up by about 10-20% to keep things proportional. Test fit as you go to make sure it works.
First Customization Project: Painting the Pieces (A&A 1942)
-
I’ve decided to begin the process of customizing my A&A pieces to make them more my own. So, that being said, I took the advice offered in this post and ran with it. I ran to my local Michaels, spent about $20 for all the working parts, and started this evening with my 1941 version of A&A seeing that version not only has less pieces but will not be showcased in all of my future competitive games with others. Don’t want my initial paint job leaving a poor impression (ha ha ha).
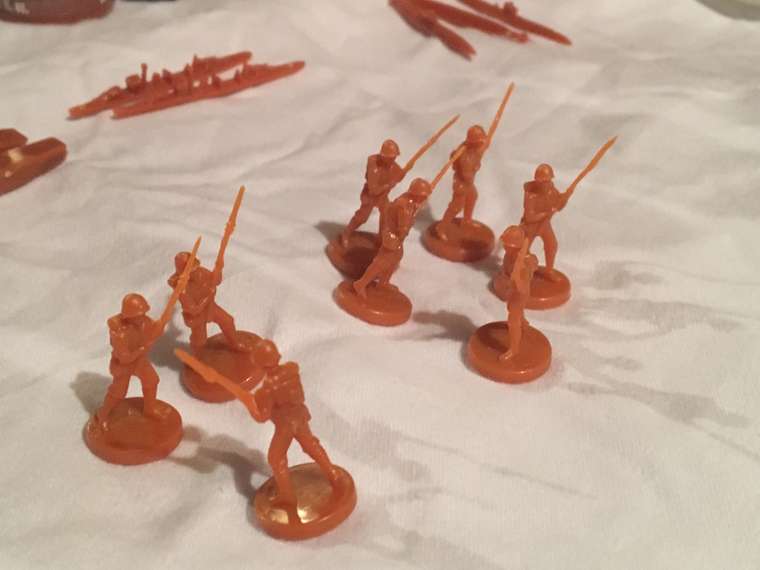
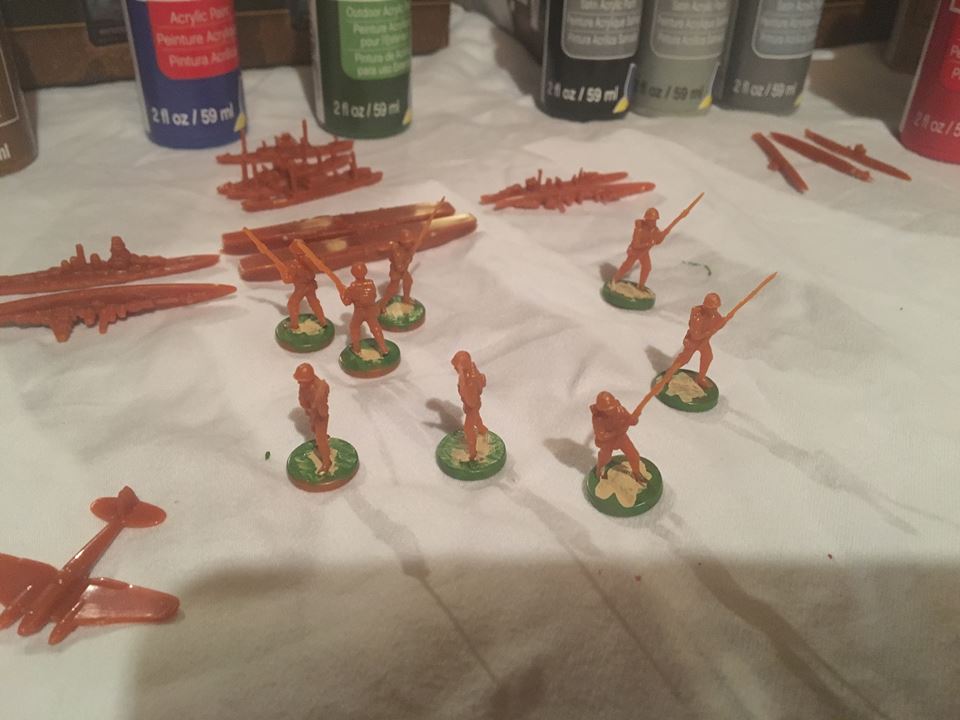
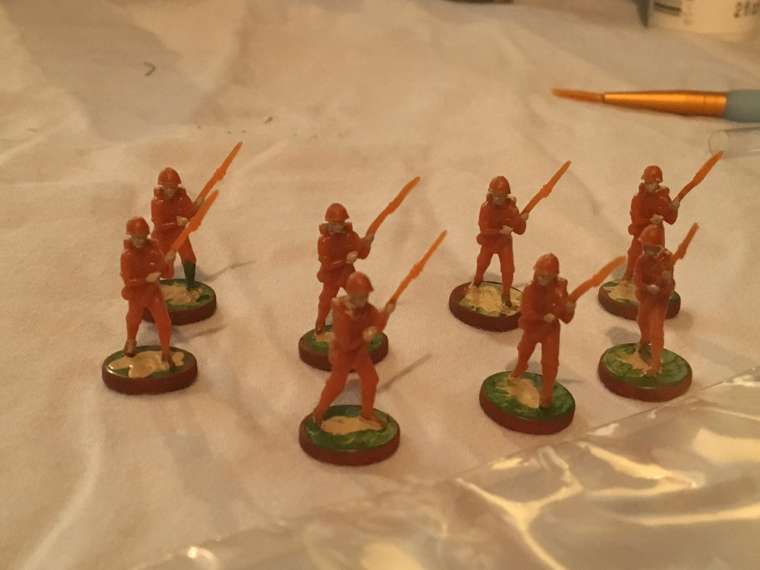
So, that being said, I started off with the Japanese infantry this evening and tried a couple different painting techniques. My first inf I painted the base area around his feet a light-dirt color and then applied the grass color immediately around that. Mixing wets didn’t seem like the best idea, so I modified to paint the green outer portion first, and learned that dabbing the brush is much more effective and better looking than stroking the plastic. For my last three, I made one final modification in painting the inner base color first and will apply the grass later after it has dried. It’s a small first step, but I figure I will be learning as I go and I don’t want to do a lot in one night and then realized I botched something up. :sweat_smile:
I also realized, after painting, that I may want to paint the outer ring around the base the same color as the nation, or just not paint it. It might look strange unpainted, so I’ll likely opt to painting it the same color as the nation.
Stay tuned for more painting…
(
-
Round 2:
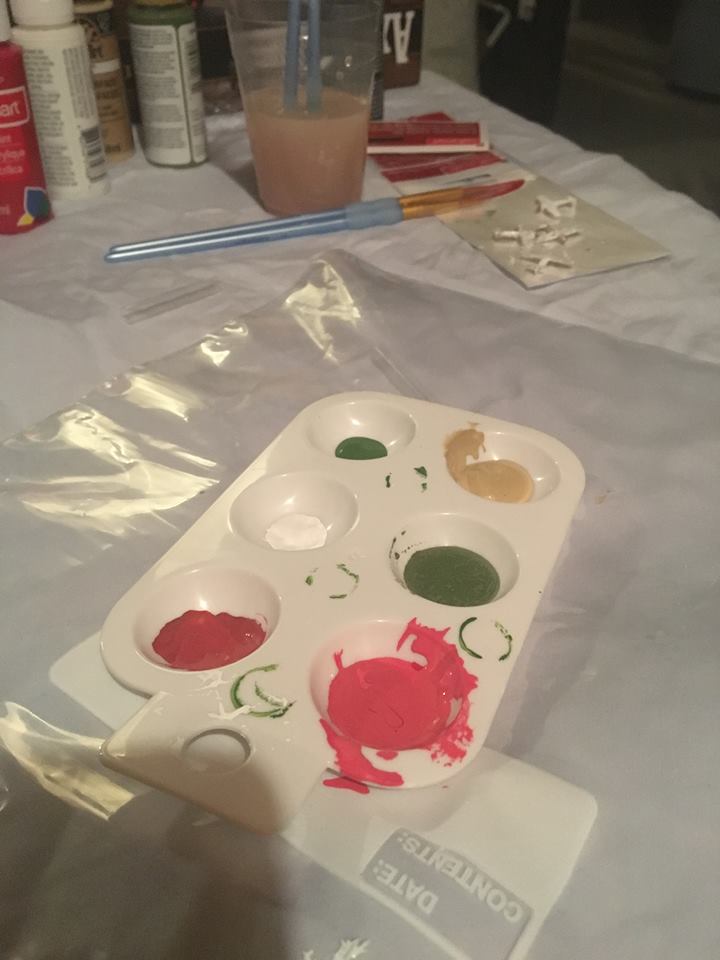
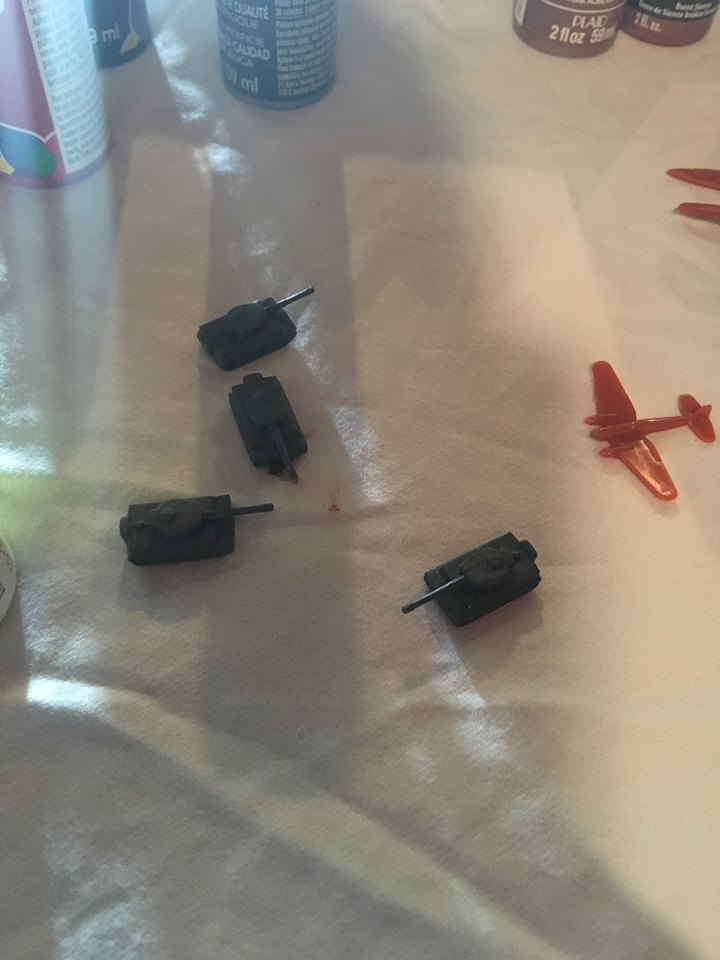
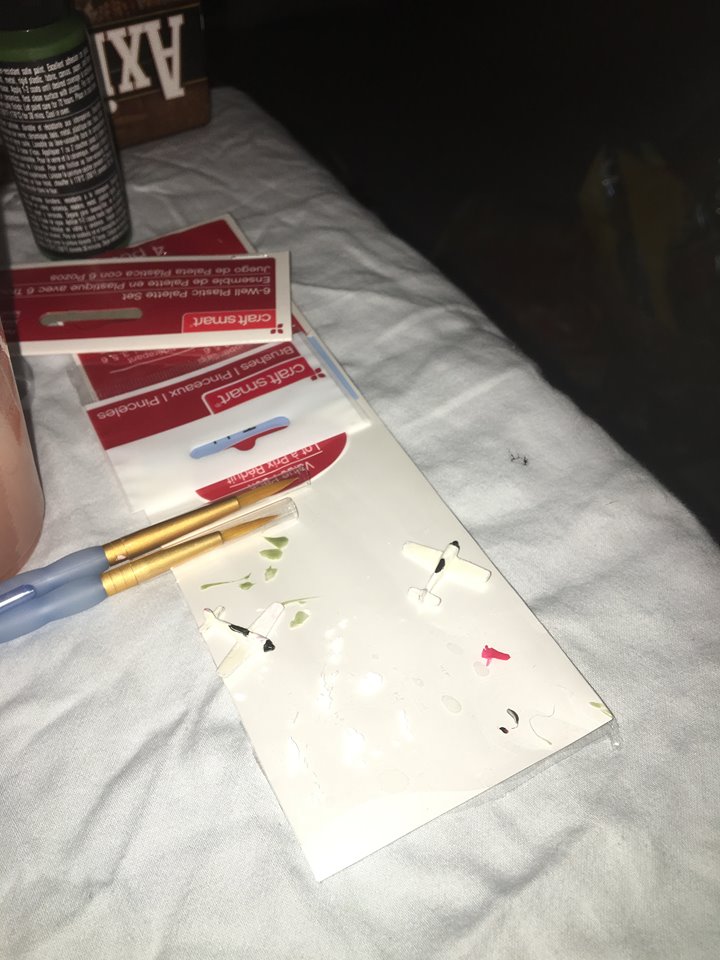
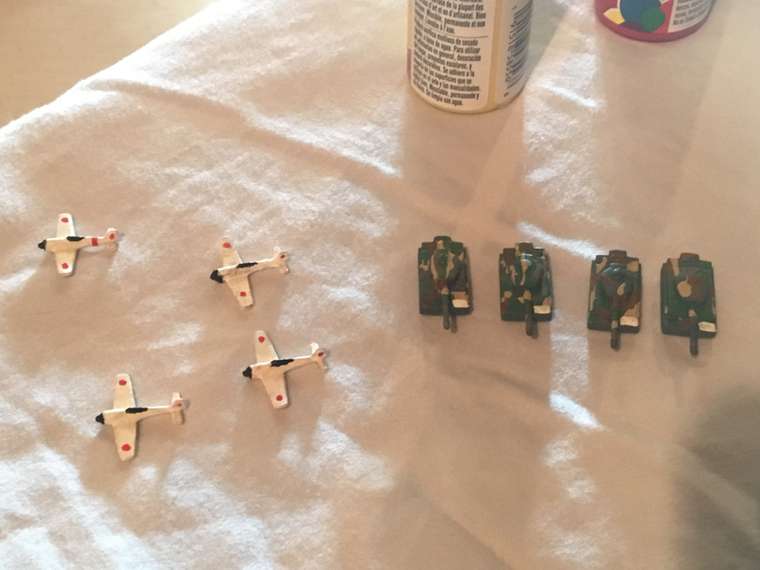
Finished up the soldiers, and the bases are looking pretty good regardless of aforementioned techniques, at least from first glance. I was having a surprisingly hard time creating orange from red and yellow though, so that is a to-be-continued endeavor. I hate wasting paints just endlessly squirting a bit more orange, a bit more yellow. The Japanese “orange” is a lot closer to brown so I decided to play around with the burnt sienna I have.I started on the planes, seeing as those will likely be somewhat easy (Rising sun, white background, black cockpit and nose and maybe some other detail.) I realize that the planes look quite juvenile with that base coat. They may need a few more coats to get them looking better, but for future painting I may just start with spray paint for the base. I’ll be using a toothpick next to do the rising sun emblem as professionally as possible on the planes. After all, these German made FW-190 Japanese planes gotta look their best. Same goes the the Japanese Tigers! :laughing:

-
mixing colours can be hard.
Using the Quiller colour wheel is helpful.
He plotted artists colours on the colour wheel.
Orange needs a red with a warm/yellow bias and yellow with a warm/red bias.
A six colour primary colour wheel is a must if you want to mix secondary colours.Remember this rule too. When mixing, always add the dark colour to the light one.
If you get too dark, make a new dish of light colour and add small amounts of the “too dark” colour to it.
Saves paint and you can use the left over “too dark” colour as shading.I find spray paint primer a must for this work. Saves a lot of time.
I generally use black primer for the figures and almost dry brush the raised surfaces.
White primer when most of the top coat colours are light/white.
Grey if not either of the above. -
@LevHunter
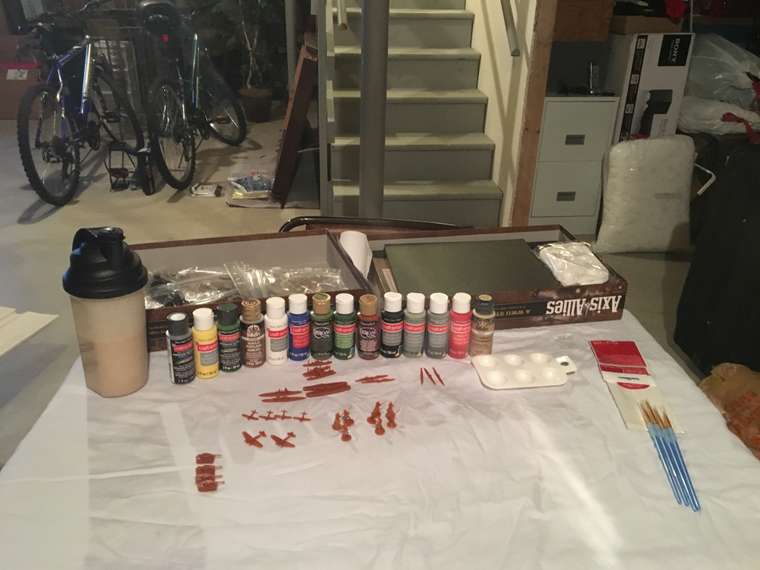
Inspired by Siredblood, General Handgranade, DKunsler, & DTroit: I also broke out the modeling paints after 35 plus years of putting those skills down. There are a lot of
great tips on youtube, check out the forementioned videos from the gentlemen listed above & it will open your eyes as to the steps needed to maximize your effort. After all if your are going to make the paint $$$ & time effort, you want to produce the best understanding that you will get better as you go. I began my effort in early December and have nearly completed my sets except for the soldiers, they require the most detail & hence I saved best for last. Depending on your budget: I found the following helpful:- modeler’s tweezers,
- primer/paint cans available at HDepot/Lowes: they will provide excellent base coat & protect your pieces: pretty inexpensive.
- nondrying children’s playdo: to keep units in place when you spray.
The list goes on but def check out the videos.
I have to say the game definitely come to life with the paint/effort made. I don’t look at the game in the same way. Good luck to your effort!
-
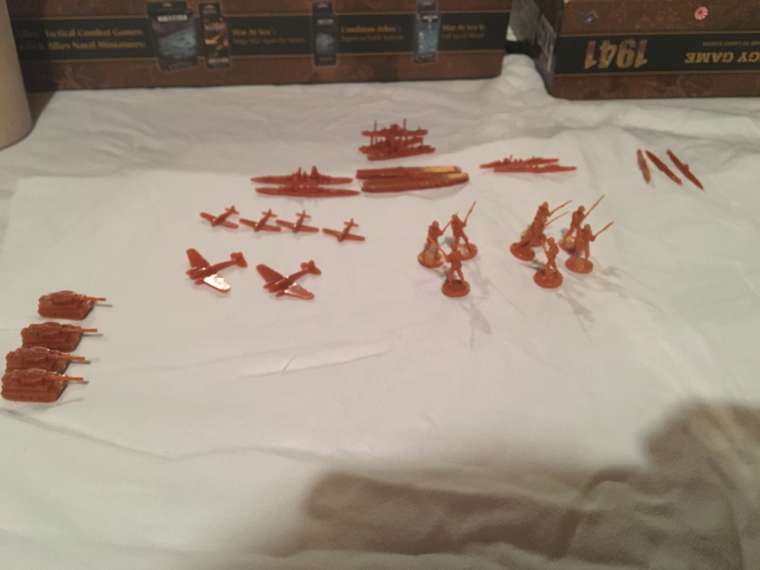
Part 3: Finishing up the armor and aircraft. Preparing the Japanese Navy for customization
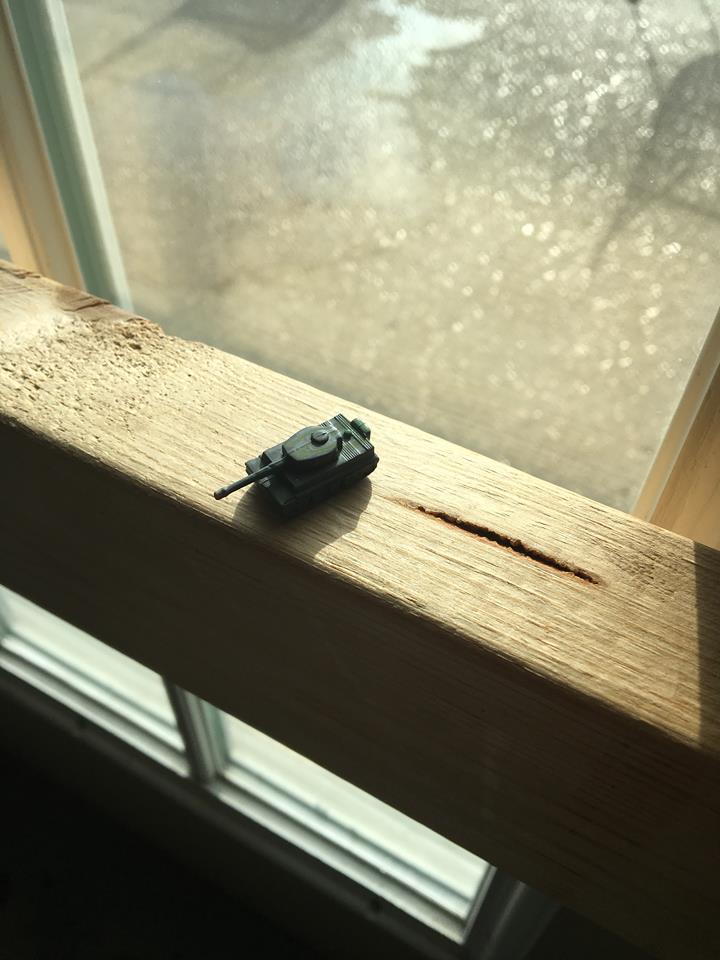
I found spray painting the tanks to be very helpful. Special thanks to @robert-t for the tip on that one. On top of the grey coat, I painted some basic Camouflage to them and am considering adding the Japanese emblem to the upper rear flank of the tank. In the future, I’m considering googling how to apply some country-relevant decals to the units seeing that a red dab of paint will not suffice for every nation. Saving this instructional page for later painting.
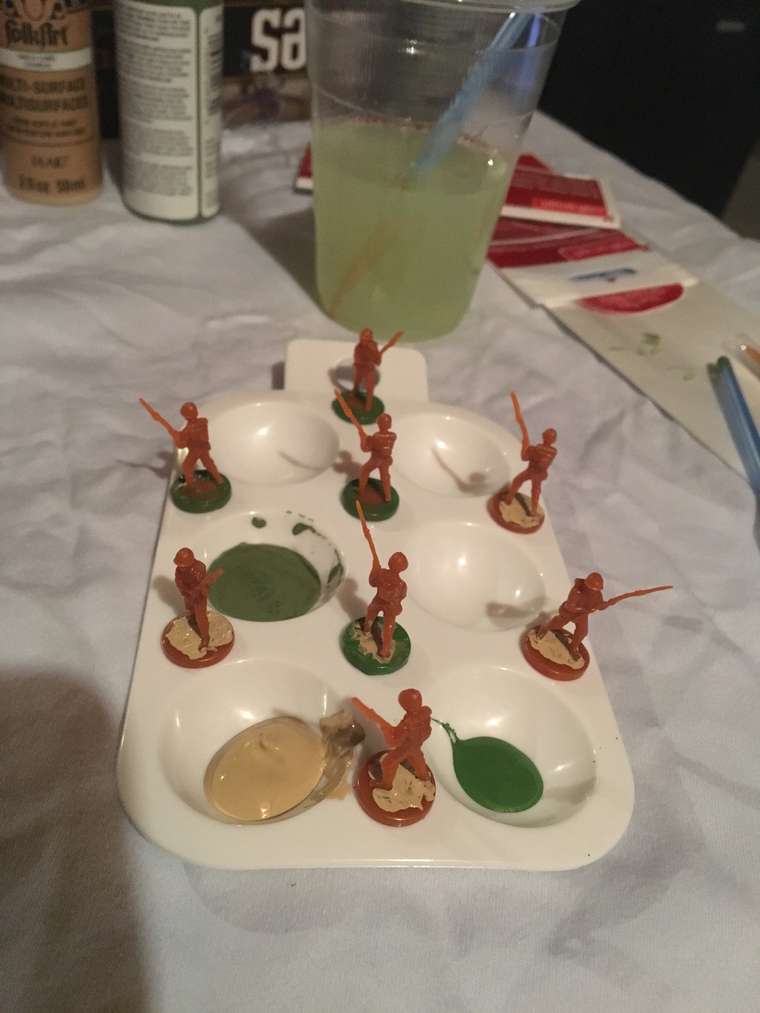
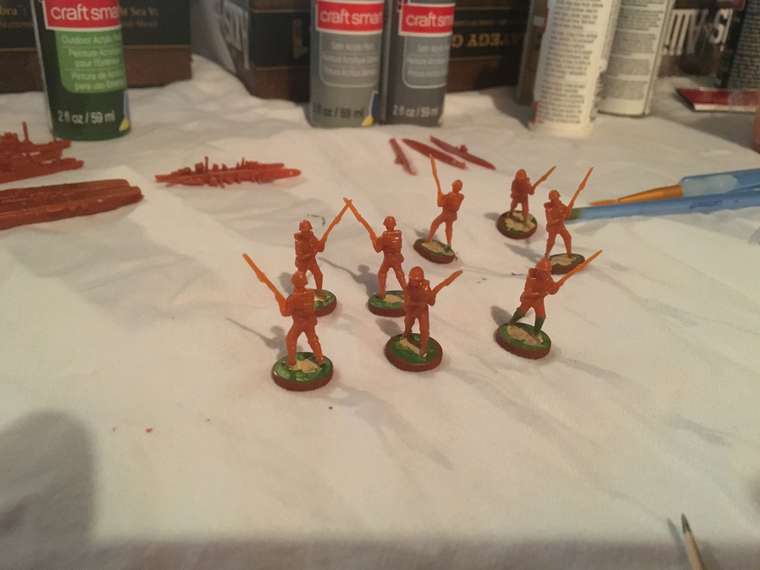
Additionally, as you may have noticed, I painted the base rim of the soldier figures. In the future, I’ll just be painting the entire base the country colors. While the grass and dirt adds a touch of realism, I would rather be able to easily tell which infantry belongs to which country. The Raw Sienna paint matched up closely with the Japanese base color.
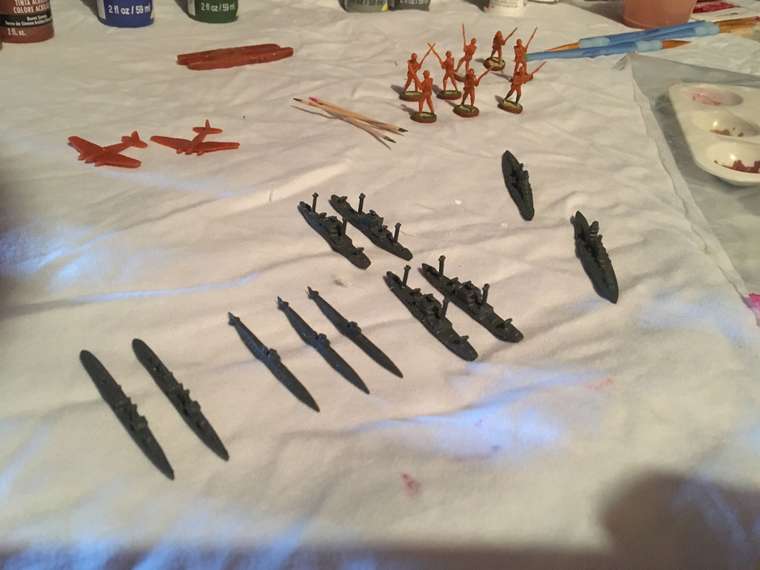
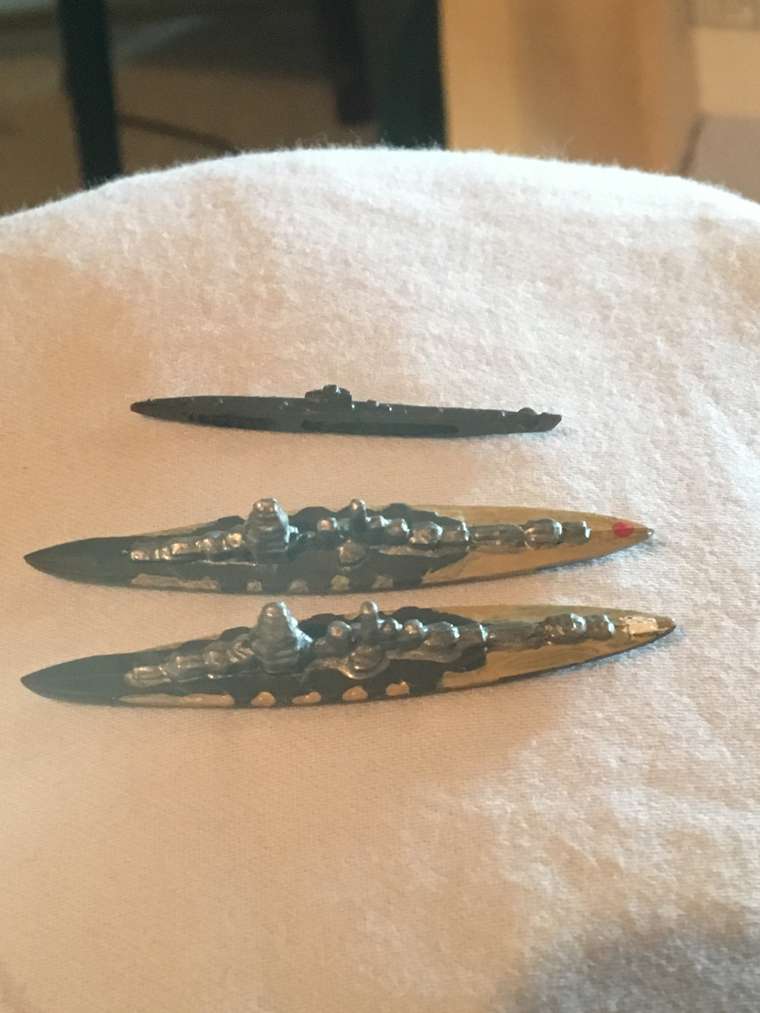
Finally, I spray painted the Japanese naval units (save the carriers) gray. As a note here, the manner in which you allow the pieces to dry and shaking as much excess paint off the units as possible it wise. The sheet I let these dry on left some fuzzies ingrained on the bottom side of the ships. I also noticed the submarine slits on the sides of the units looked great on one side but were covered on the other. This was because of how I let the paint dry and it’s a lesson I learned for next time when it comes to spray painting: Let as much paint drip off as possible, and let them dry on a hard surface you do not mind getting dirty. Letting them dry the same way you will be using them is also a good idea as that’s how they’ll be observed for their life as pieces. For the ships, I will be painting namely the decks, adding the Japanese emblem to the decks, and possibly adding some WW1 era camouflage to those bad boys. Stay tuned.
-
Part 4: Starting the ships, adding decals to the tanks, skin tones on the soldiers
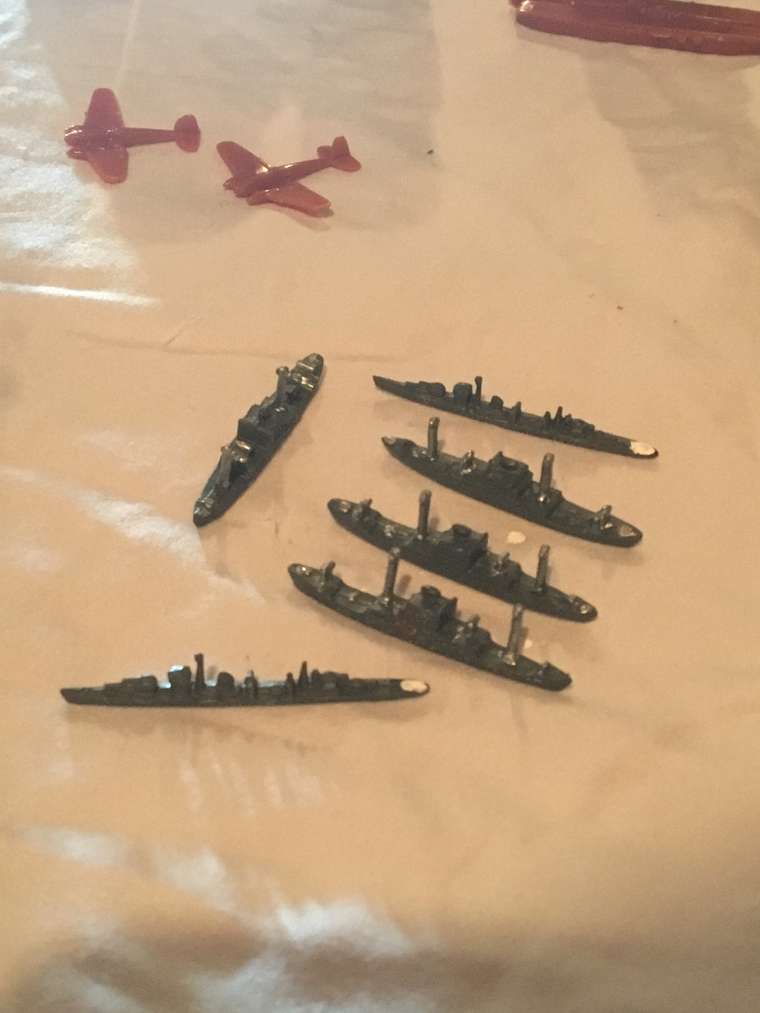
Today spent some time adding paint to the sprayed ships, including painting the water jettisons on the subs black (this was very tricky and ended up looking a little sloppy). Advice for painting the jettisons: toothpicks are not small enough! If you do use toothpicks, you’ll have to dab a dot of black for each tiny jettison.
The battleships were a bit easier, and painting the decks, bridge, and smoke stacks were all done in silver. I plan on adding the final grey coat last after the deck and stacks/bridge dry. I experimented with how to add the national emblem, and will probably opt for a white background with a red dot on the bow of the ship. In the future I may do that with the rear end of the ship.
I painted the tranny smoke stacks silver and added a white background for the emblem on the destroyers. All in all, the Japanese navy is coming along nicely.
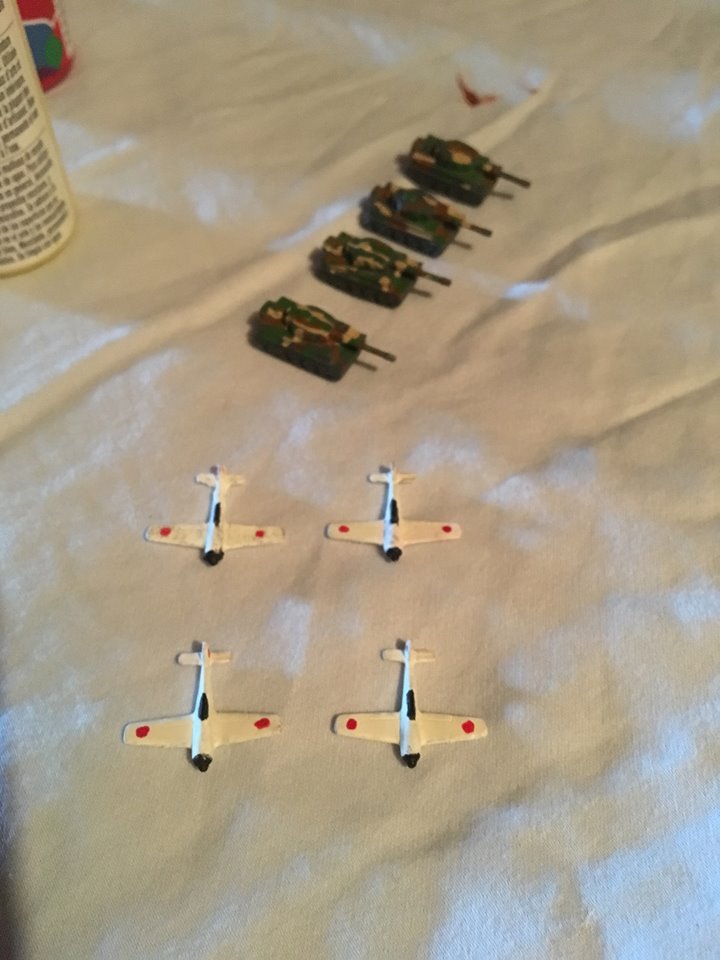
The armor is pretty much done. I added a white flag to the front side of the armor and will be adding the red dots later. For the aircraft, I’ll be adding a red band around the rear part of the plane. I was debating between sky blue and red and may alternate just for some variety.
The soldiers got some skin! And I just want to say that adding the paint alone brings out the contours of their facial features in an excellent manner on their own. I may add a touch of black to certain areas of the face but that will be a last step. The next step will be panting their uniforms, rifles, and helmets.
After all this is done, I will be spray painting the japanese bombers white, the aircraft carrier black, and then will add the details to those. The Japanese are about 55% done all in all and I’m pleased with the results so far even if they do look a bit amateurish. Stay tuned.
Suggested Topics

