@Young:
If there were perfectly divided plastic trays available, would you buy them?
Maybe… if the price was right and they didn’t look too “plastic” if you know what I mean. I like the tuck inserts because it leaves pieces in the original boxes that fit nicely back in the game box for storage. And the black cardboard boxes they come in won’t look too out of place against stained wood as opposed to the clear/white plastic that most containers are.
If you are planning to pad the side rails of your table, do it right and hire an upholster.
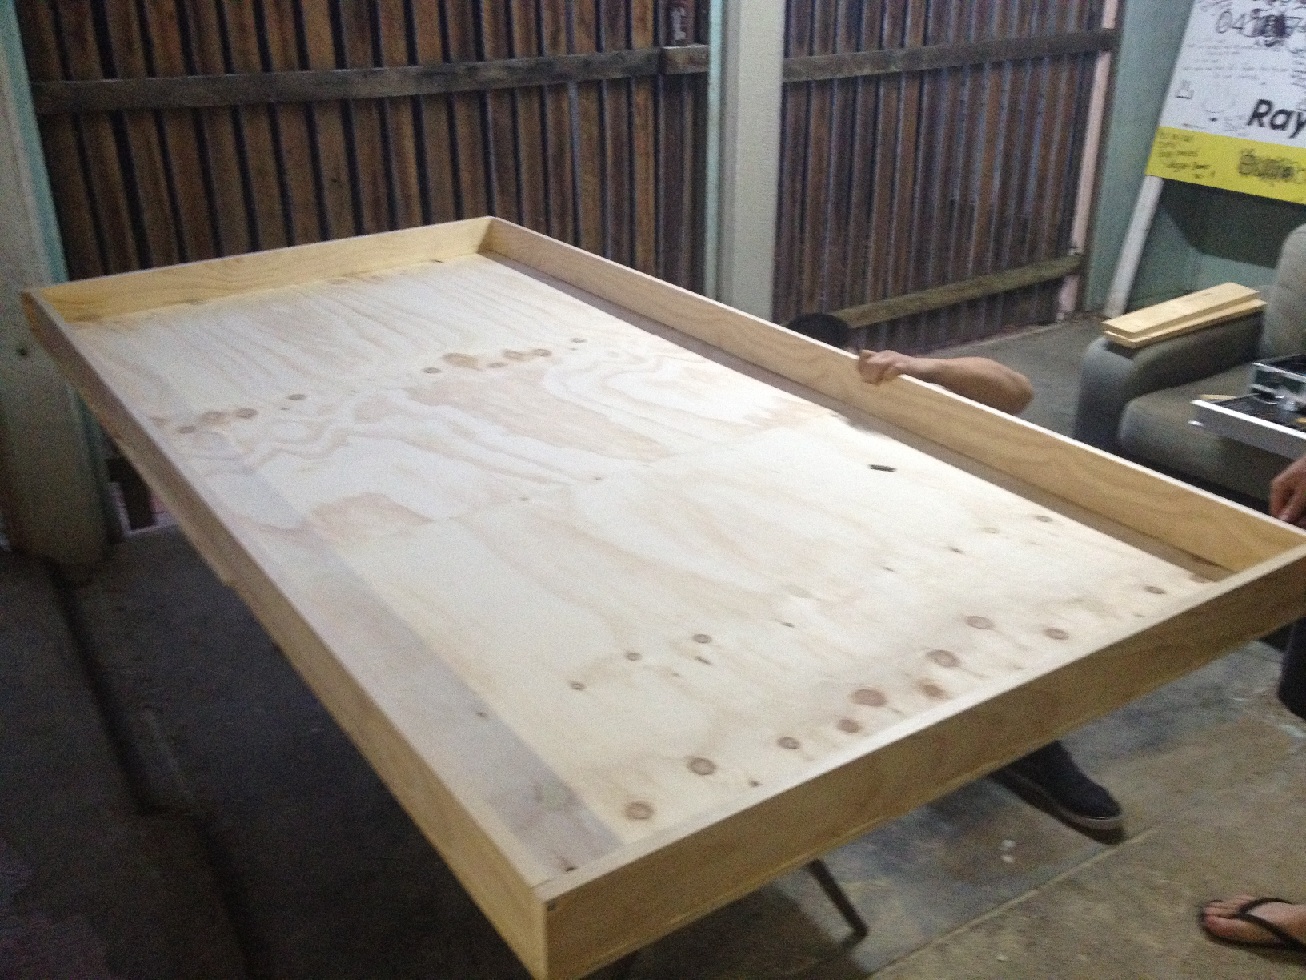
Thats a good point. I think I am just going to sand and stain the table, If I sand down to curved edges it should be comfortable enough. I can always upholster over the top of it in the future. Cheaper that way too as my wife wouldn’t think its a worthwhile investment to hire an upholster :roll: I had to pull in a few favours to get the budget for the table up to this point!
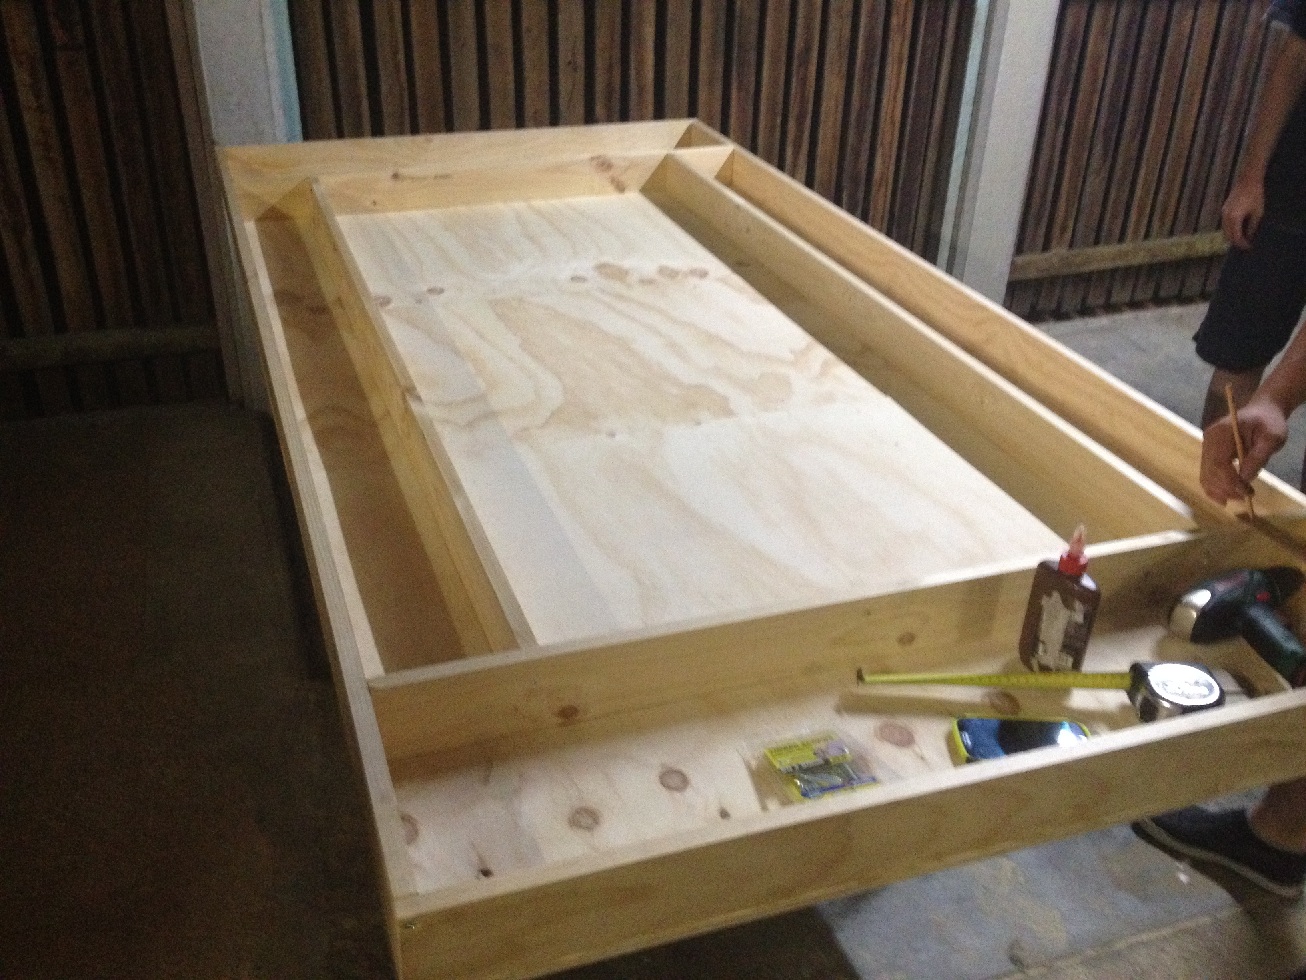
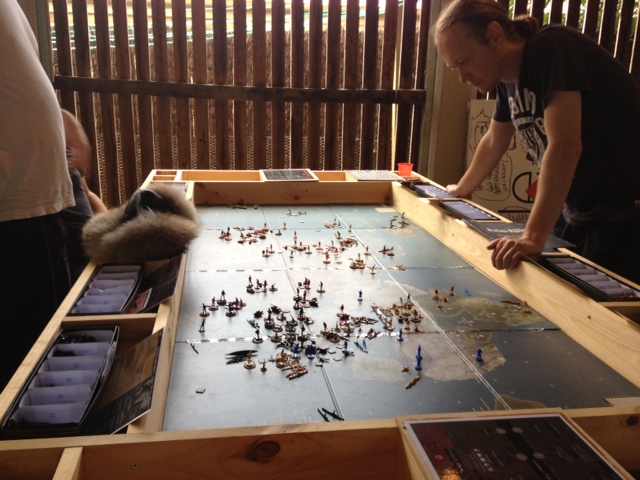
We tried timed turns, it doesn’t work. Every round during Germany’s turn, Russia should move their eastern forces to allow Japan and Germany to go at the same time. This will help shorten games.
I agree with not being able to play timed turns, there is no even way to do it and it will naturally speed up once everyone is more familiar with the game. A few of the new guys just get bored and I understand the concern like when you play Anzac and you wait an hour before having your first turn (we usually have enough so Italy & Anzac are individual players). I agreed to put a clock on the board cause I figure its still a nice way to time the game out of interest, see how long a full round takes etc.
@dedo:
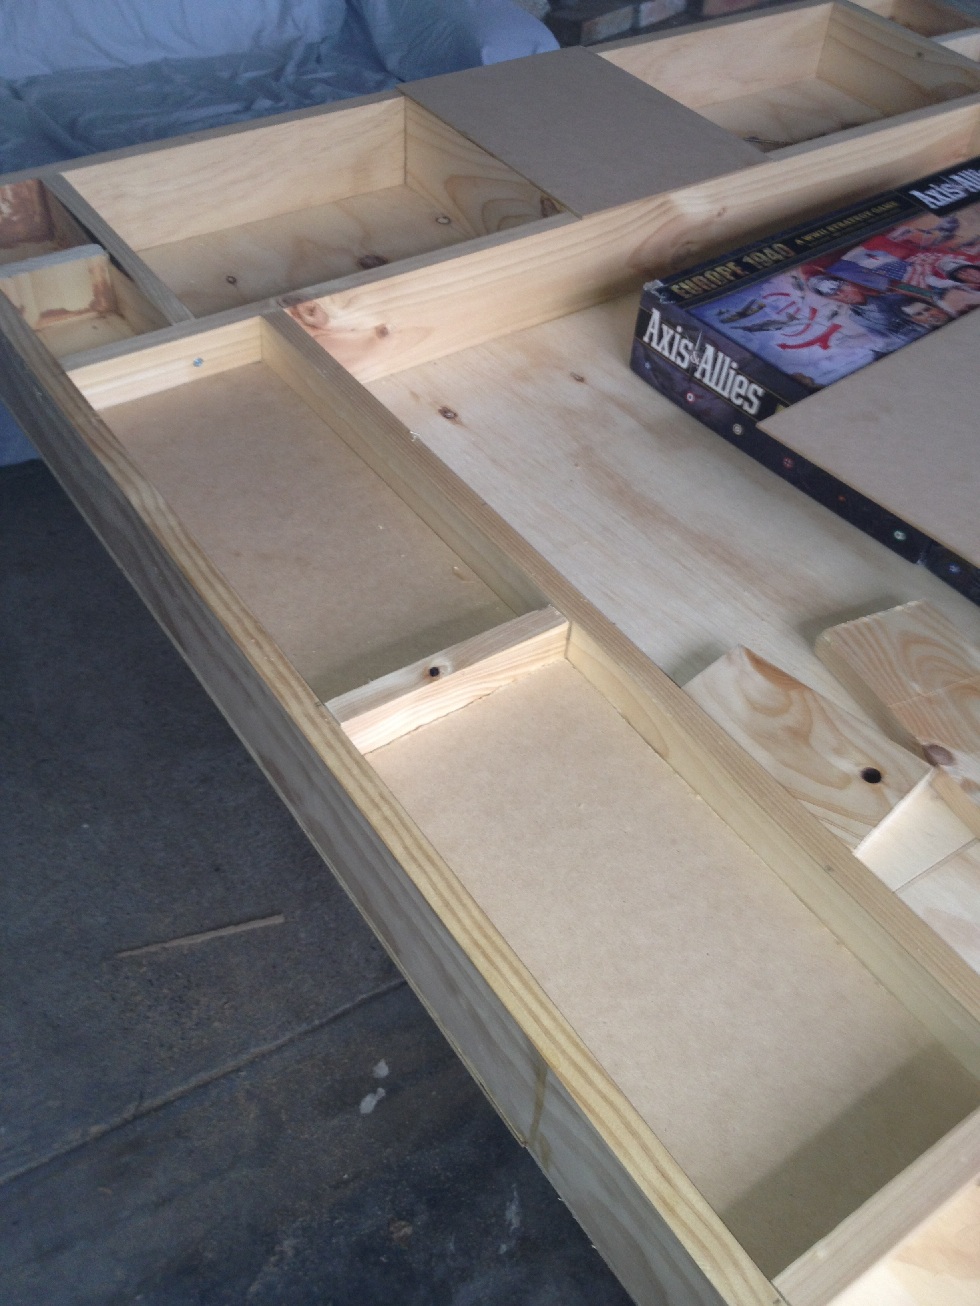
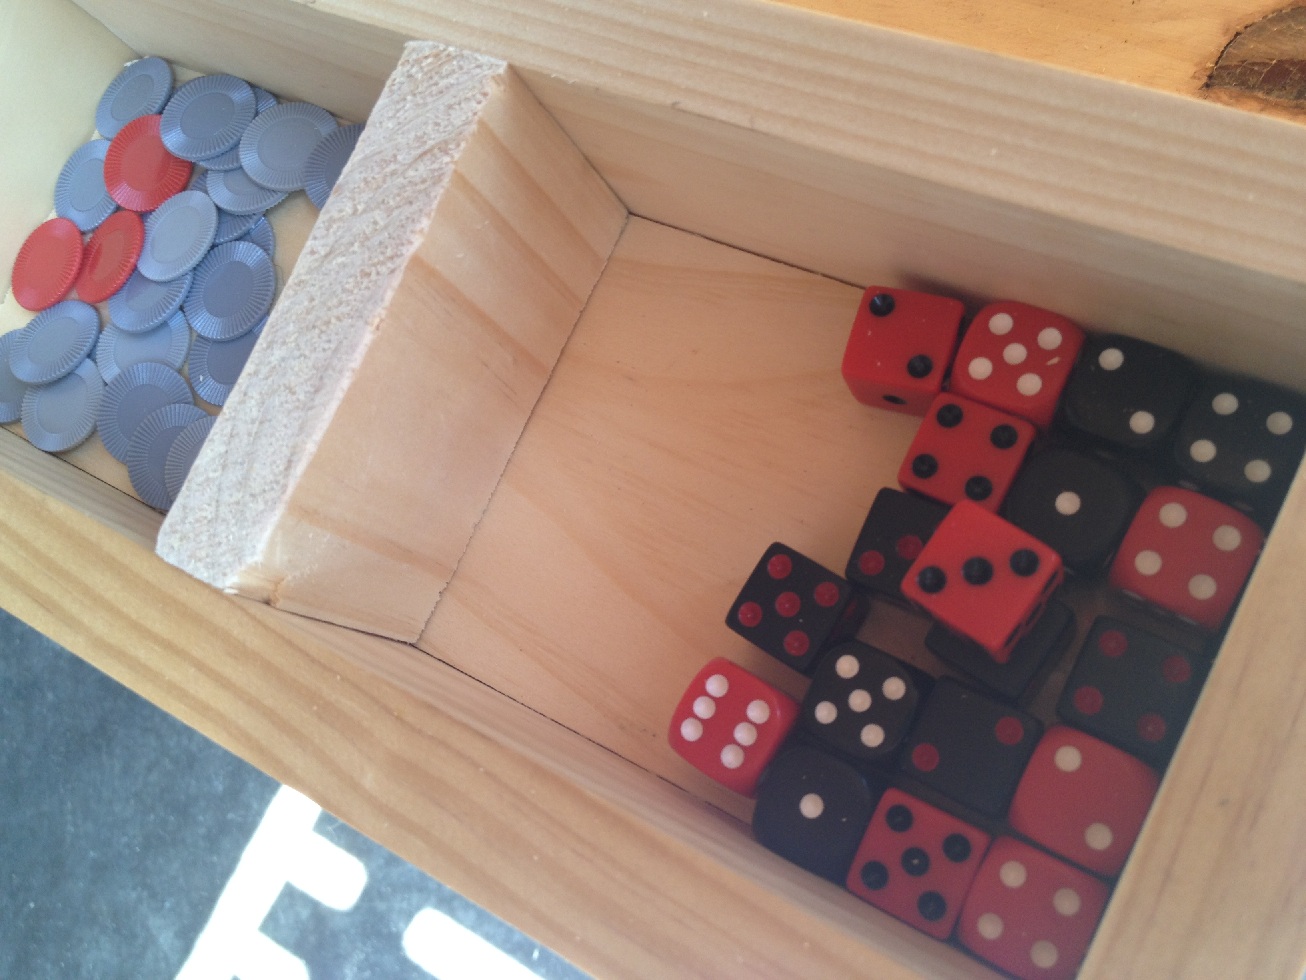
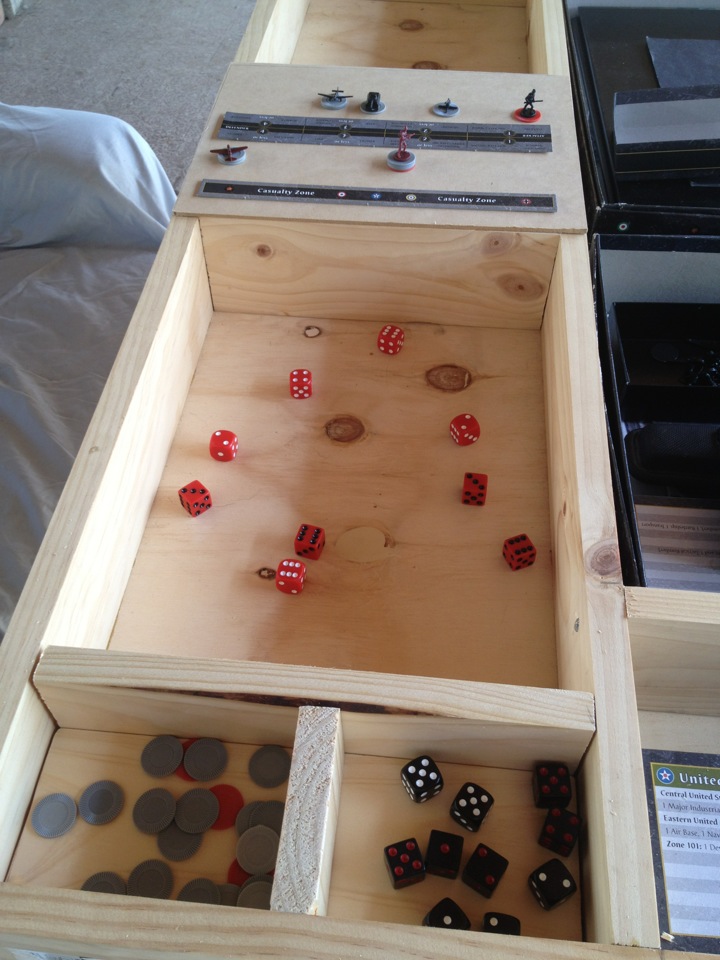
Great work, you put your heart and soul in it! Just one small point you could improve: in the pictures table5 and table6 there are dividers with visible cut edges (dividers between coins and dices). If you paint them, you will have another surface coverage as for the other parts of the table and with the utmost probability this will annoy you. My suggestion is to saw them in a way, that the grain is visible on top of the divider.
I think I know what you mean, have the dividers be cut in a way so the “against the grain” cut isn’t showing on the top? I did realise this AFTER I had scrwed in and gap sealed all the token containers :x I don’t know if it is worth redoing them, although those edges are going to be extra thirsty come staining time, it’s probably not enough of an eye-sore to go through the whole effort of redoing the divider…. in my opinion anyway as I won’t ever be selling the board, so people can just deal with it. Maybe just a lesson learned for all those building their own tables!